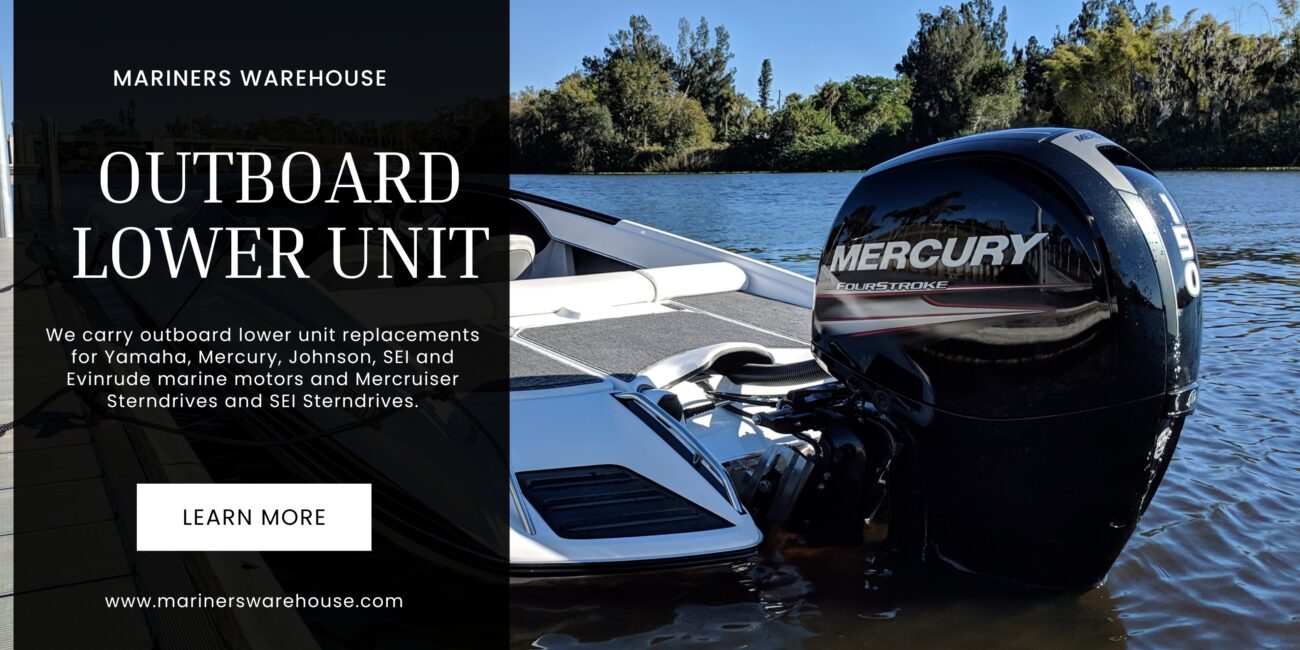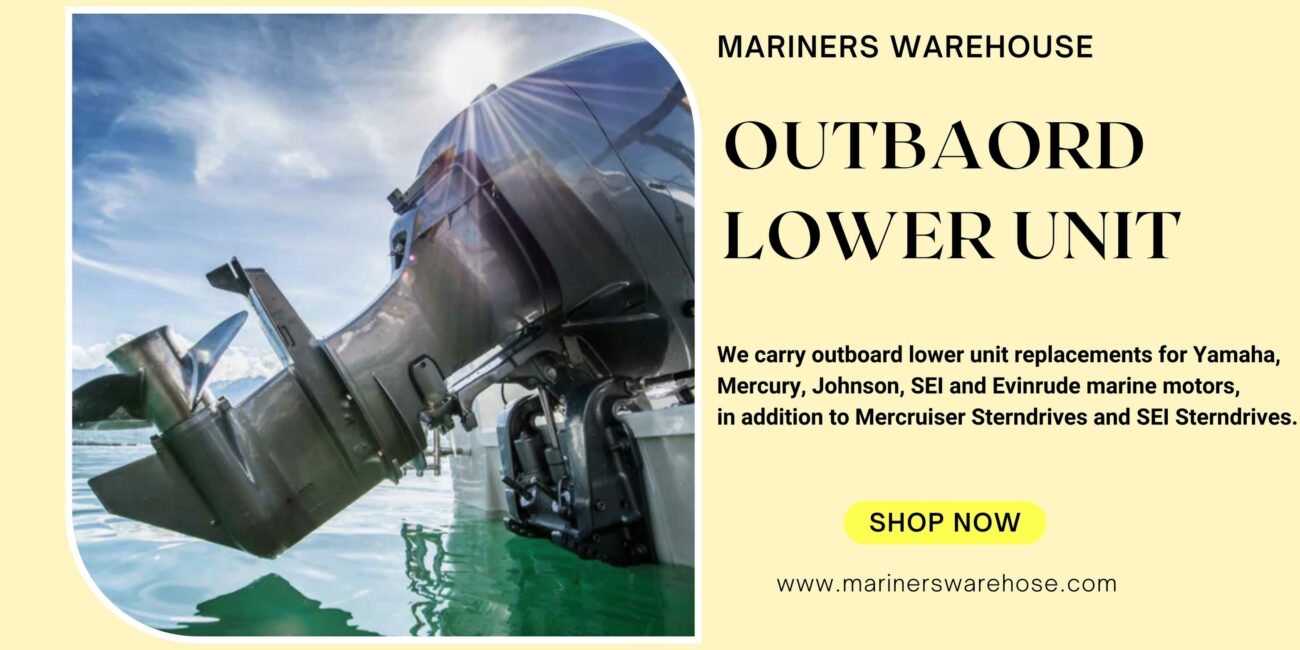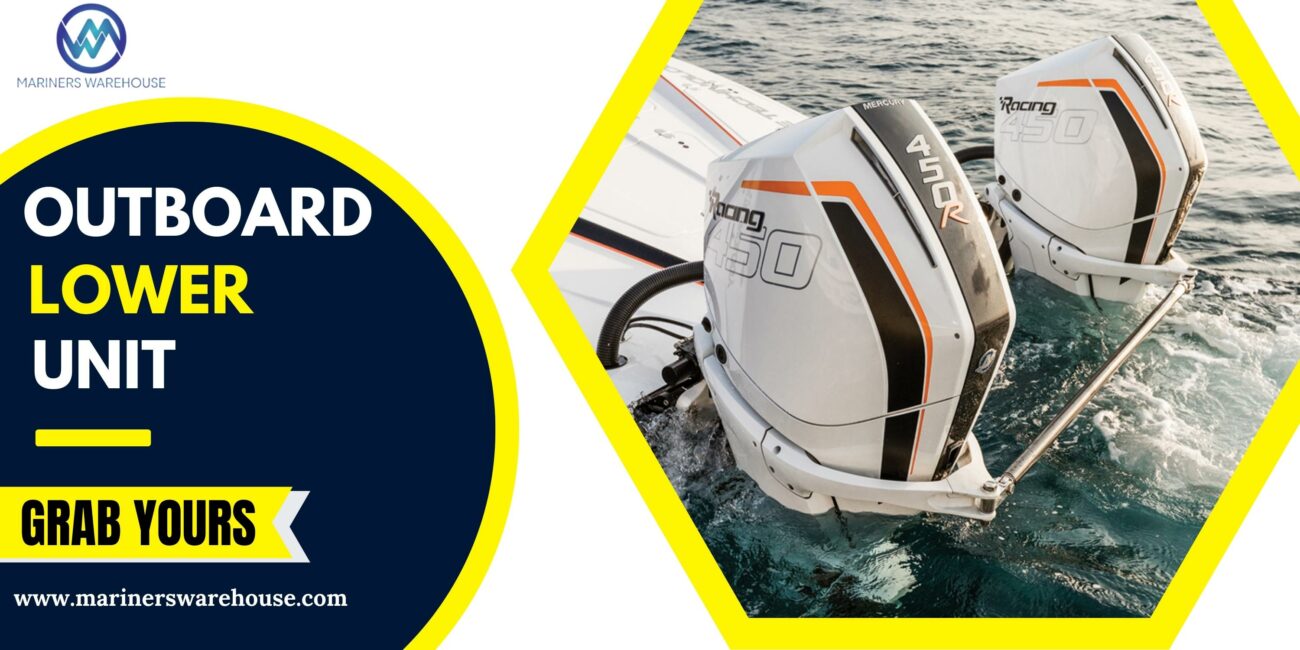


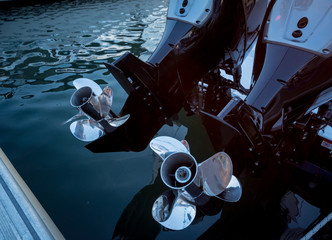


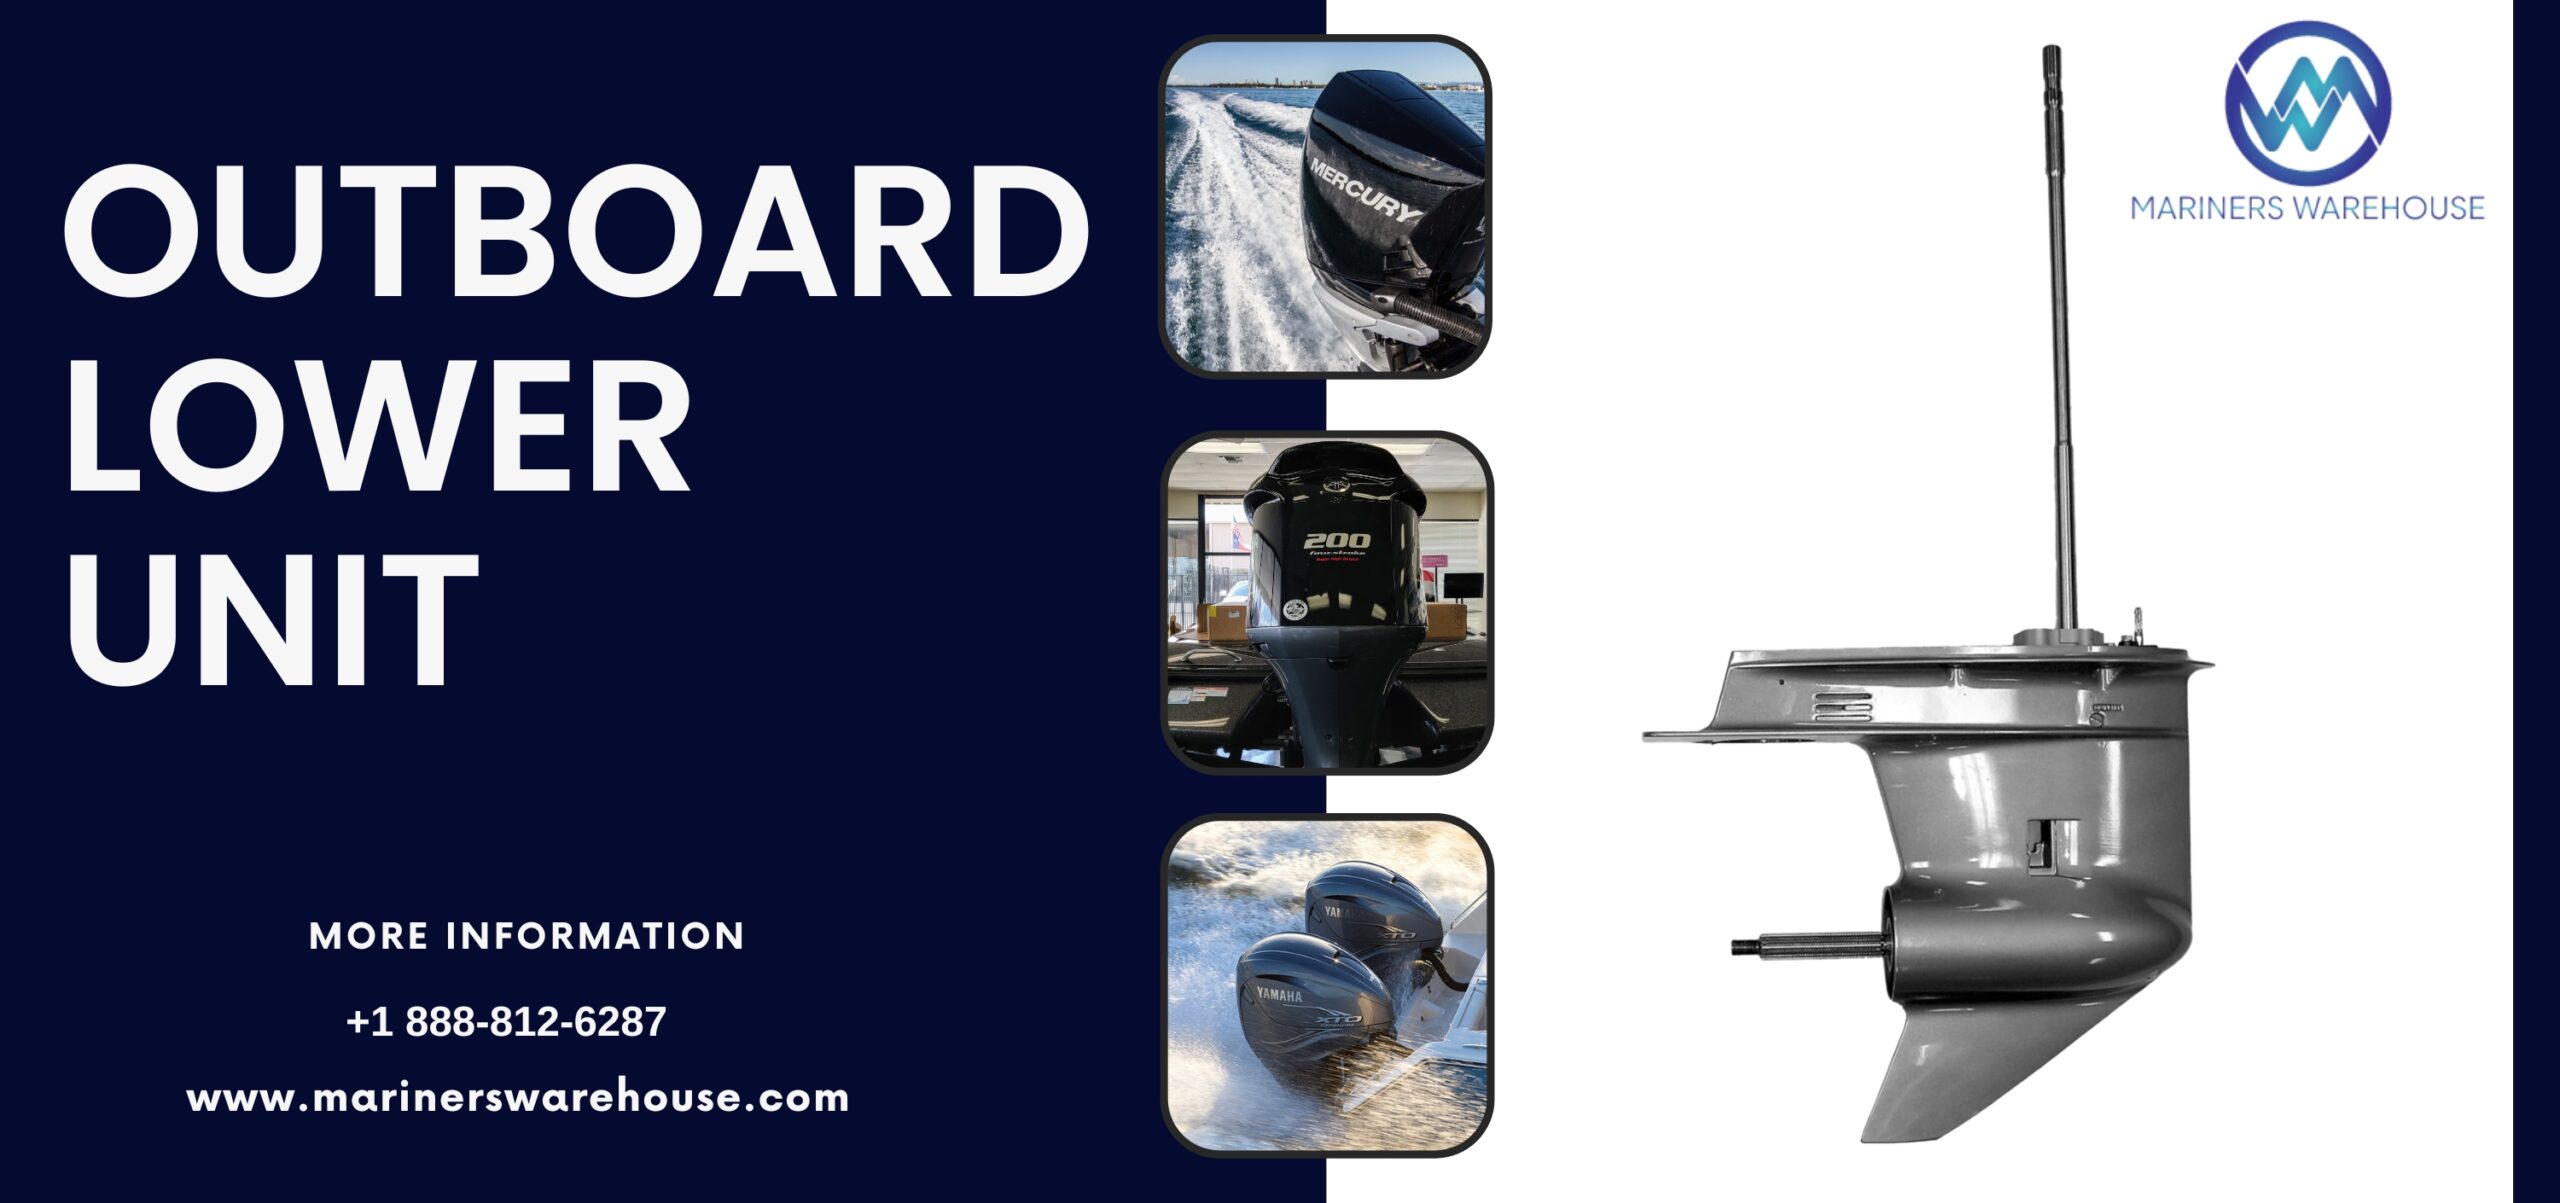
If you own an outboard, it’s essential to know how to repair the lower unit. The lower unit is the engine part that contains the propeller and helps drive the boat. While it’s designed to be tough and durable, it can become damaged or even worn out over time. There are different ways to repair an outboard lower unit, depending on the severity of the damage. For minor issues, you can replace a few parts. You may need to change the lower unit for more severe problems.
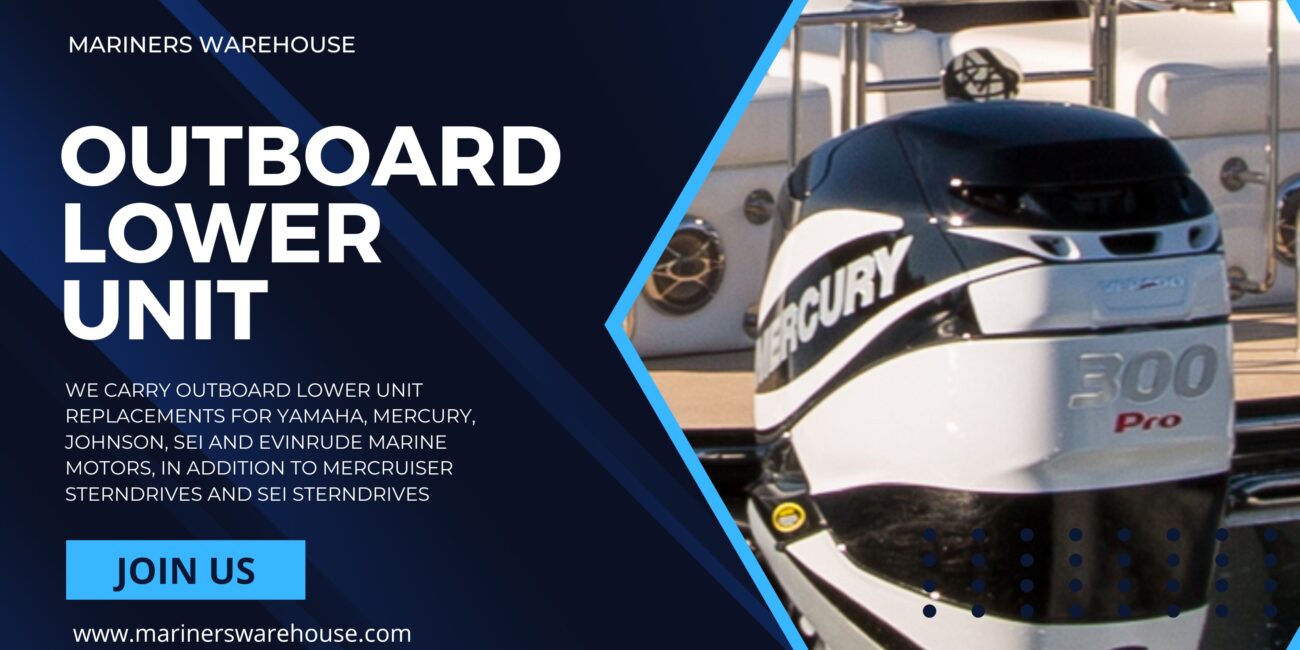
What is an Outboard Lower Unit?
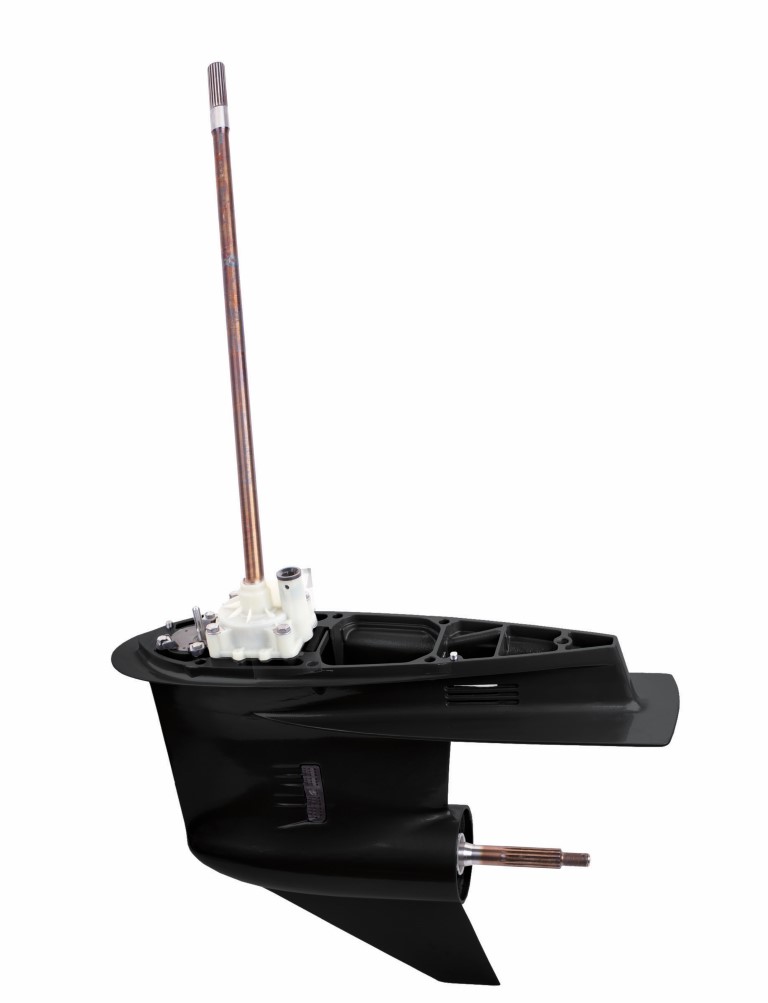
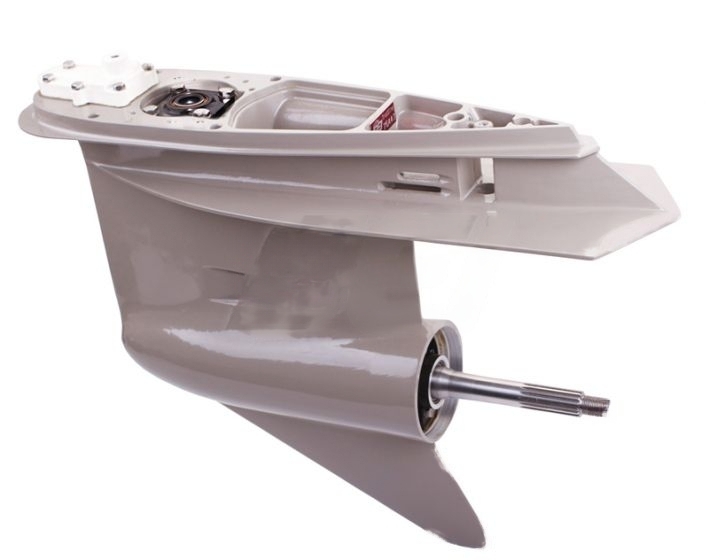
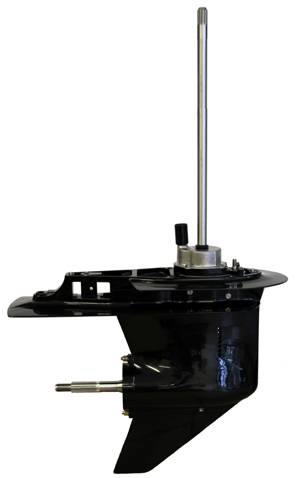
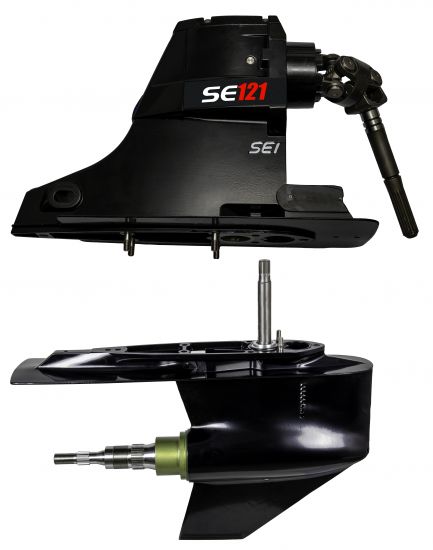
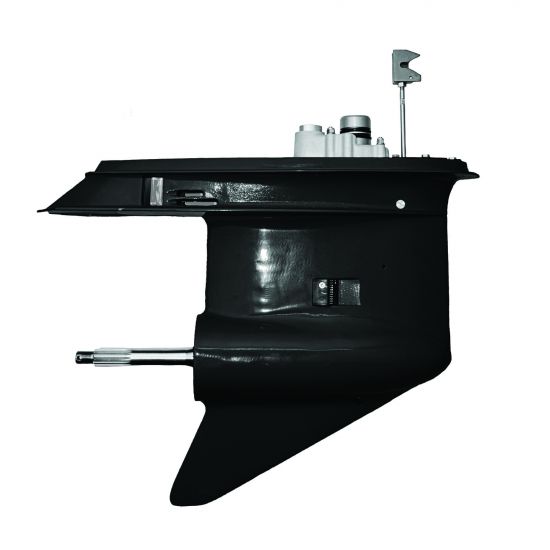
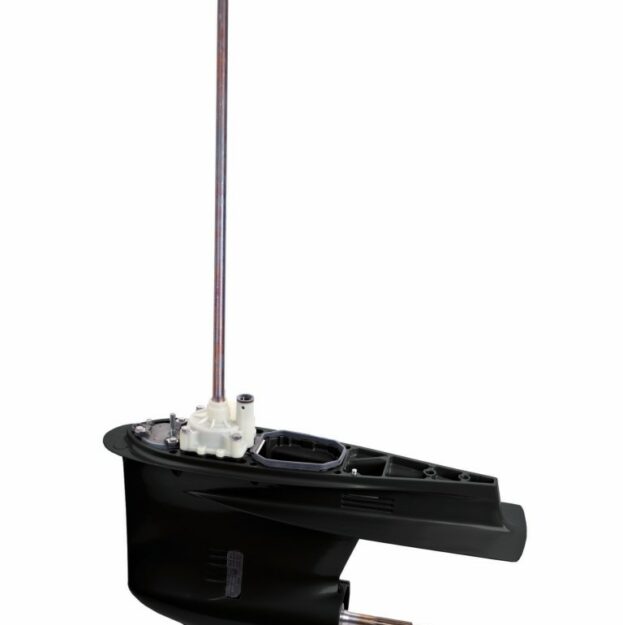
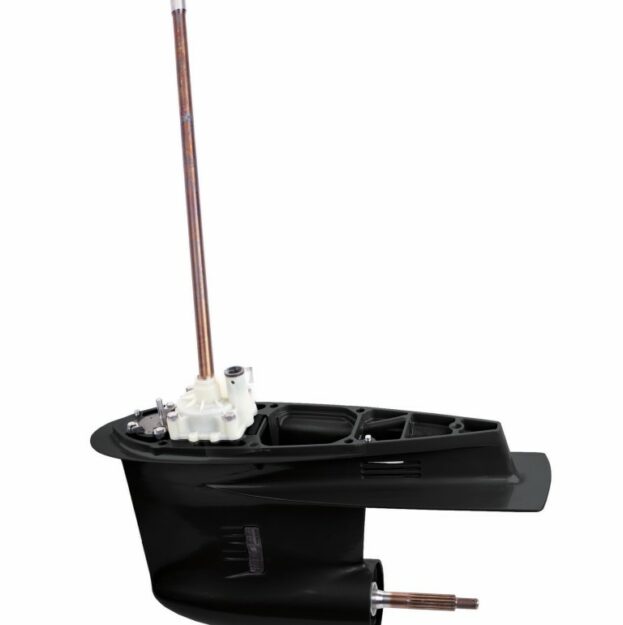
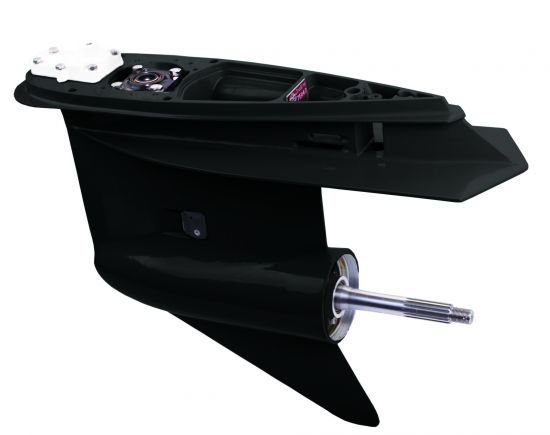
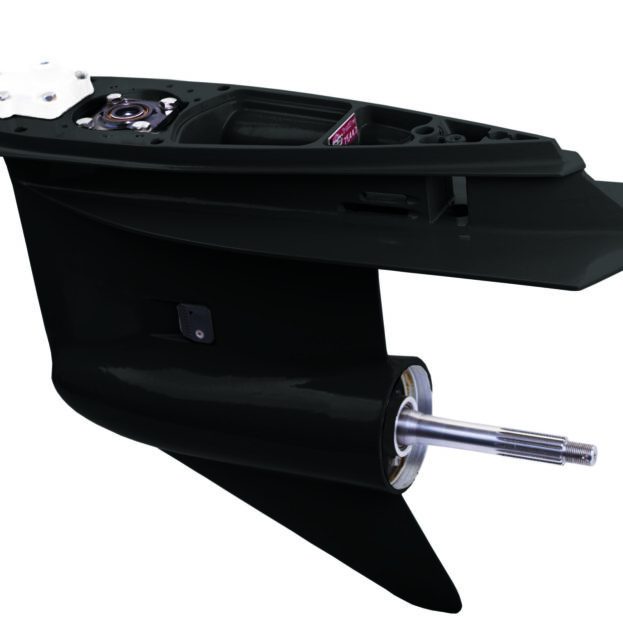
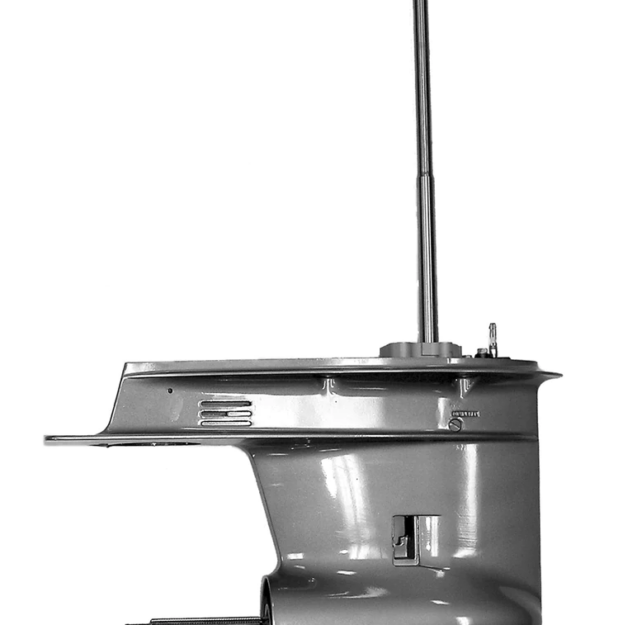
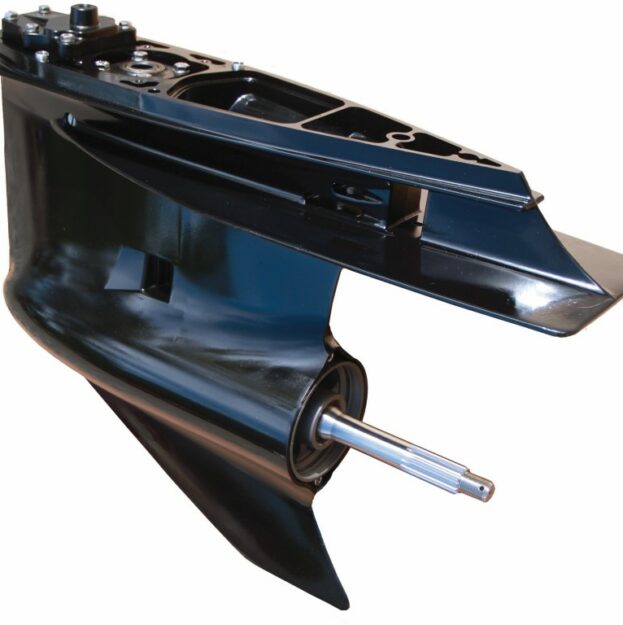
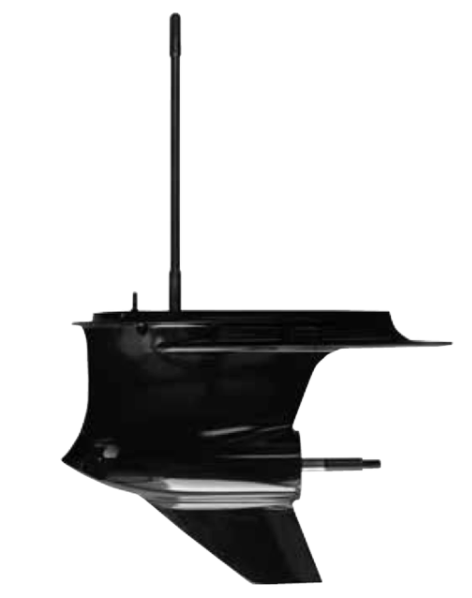
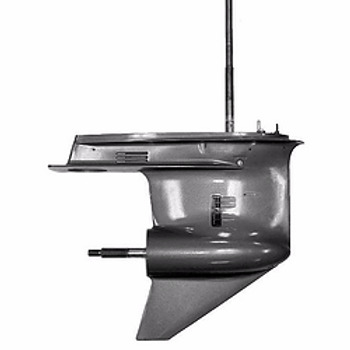
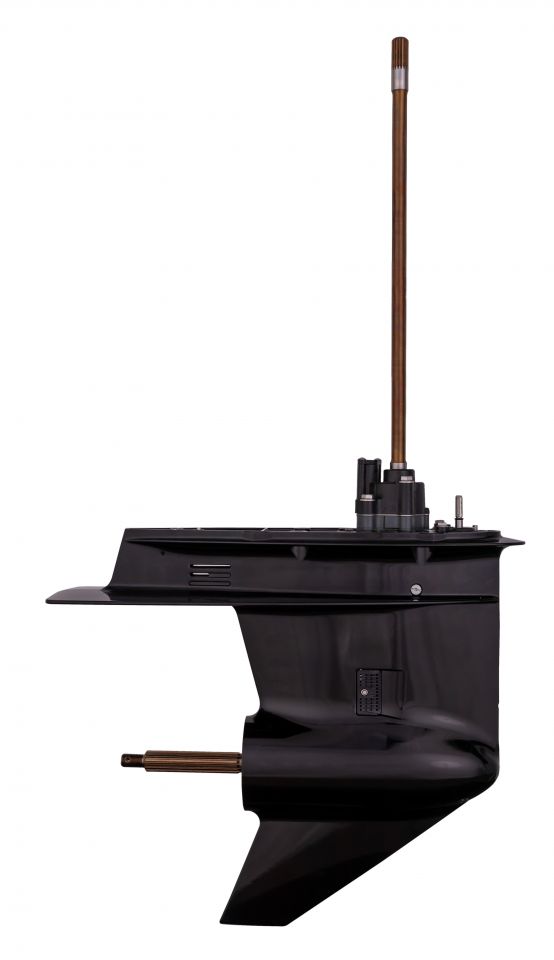
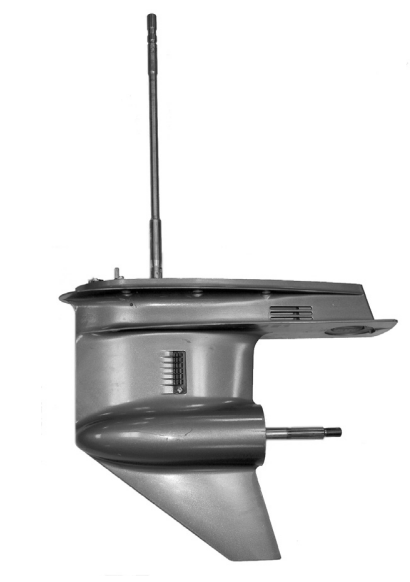
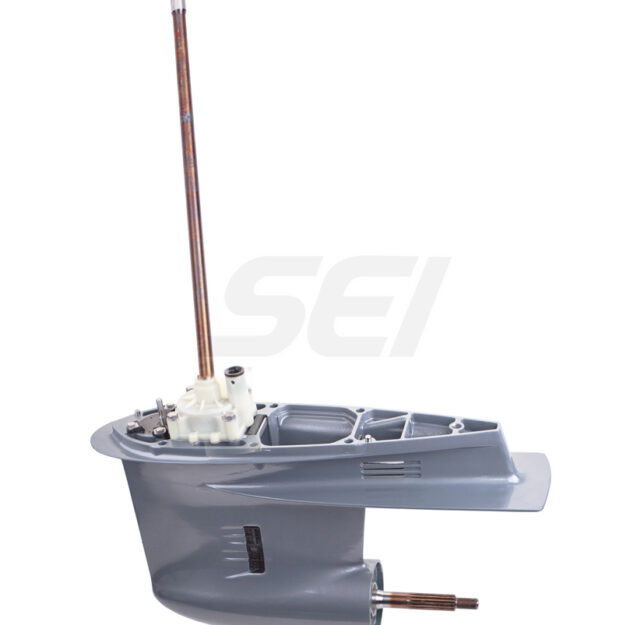
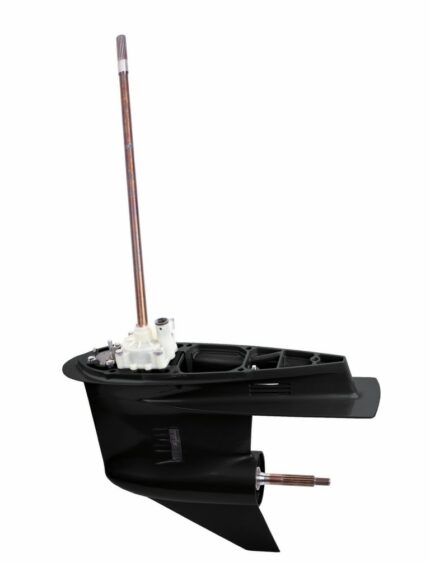
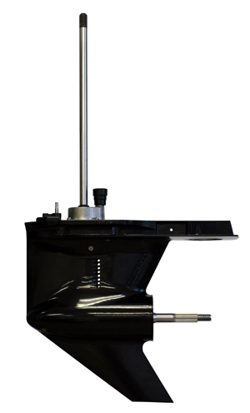
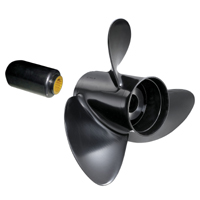
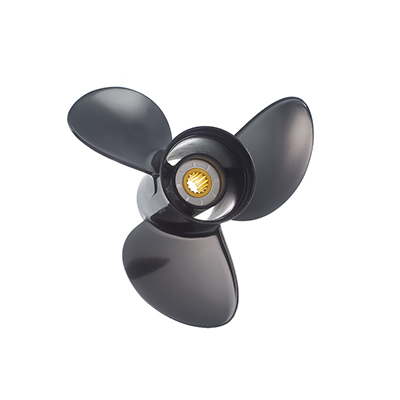
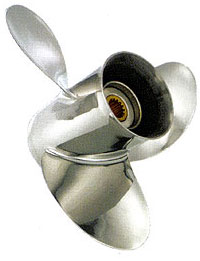
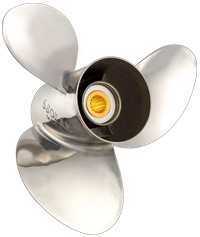
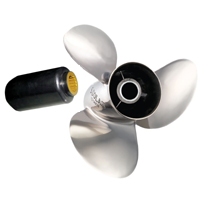
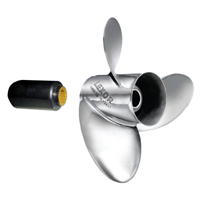
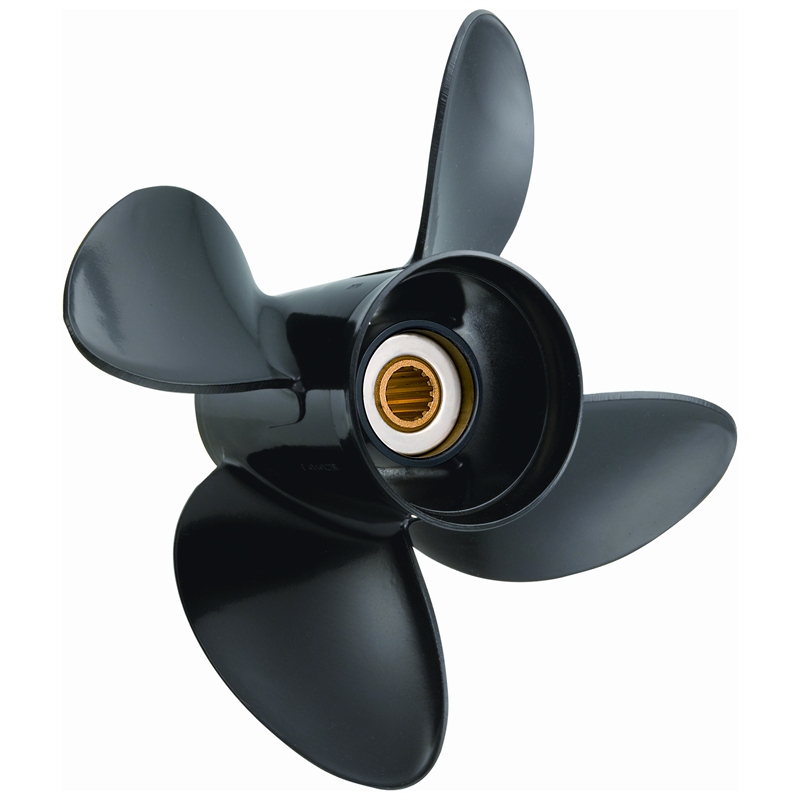
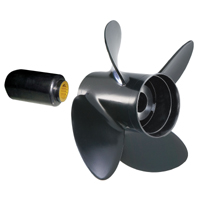
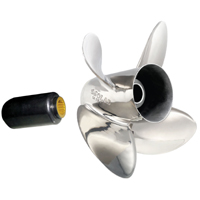
An outboard lower unit is the gear case that contains the boat’s propeller shaft, gears, and bearings that help to drive the boat smoothly over the water. The lower unit is installed at the bottom of the engine and contains the gear oil that lubricates the engine’s moving parts. Over time, the gear oil can break down and must be replaced at the right time. To do this, you will need to remove the yamaha lower unit from the engine. This can be a complicated and messy job, but it is essential to do it right to keep your engine running smoothly.
Why do I need to repair my Lower Unit?
Assuming you are referring to an outboard motor, there are several reasons why you might need to repair the lower unit mercury. First, if the lower unit leaks oil, it must be repaired. Second, if the gears in the lower unit are stripped or damaged, they will need to be replaced. Third, if the prop shaft is bent or damaged, it will need to be replaced. Finally, if the water pump is not working correctly, it will need to be repaired or replaced.
What are the symptoms of a damaged Outboard Lower Unit?
If your outboard mercury lower unit is damaged, the symptoms can vary depending on the extent of the damage. There may be no noticeable symptoms if there is only superficial damage, such as scratches or dents. However, if the damage is more severe, such as a cracked housing or bent propeller shaft, you may notice the following issues. At first, you may notice the leaks. Oil can leak out if the mercruiser alpha one lower unit housing is cracked or damaged.
This can cause the engine to run low on oil, leading to increased wear and potential engine damage. Secondly, you may notice the loss of power in your outboards. In that case, a bent propeller shaft or damaged impeller can rapidly reduce the pump’s efficiency, resulting in reduced energy and performance. In another case, you may find strange noises from your lower unit. Any damage to the lower unit can cause this type of strange rattling or grinding noise. This usually indicates that further damage will occur if the issue is not addressed or fixed as soon as possible.
How to Change Lower Unit Oil in Outboard?
You must regularly change the lower unit outboard oil if you have an outboard. Fortunately, this isn’t challenging and can be done in just a few steps. To start, you’ll need to gather supplies such as fresh mercruiser lower unit oil, a clean funnel, and a wrench. Once you have everything you need, follow these steps. First, unscrew the oil drain plug from the bottom of the lower unit using a wrench. Place a catch pan underneath the plug to catch any spilled oil. Let all of the old oil drain out completely.
Once it has finished draining, screw the drain plug back in place. Use the funnel to add fresh oil to the lower unit through the fill hole until it reaches the full mark on the dipstick. Then replace the dipstick and screw on the fill plug tightly. Wipe up any spilled oil and dispose of it properly. That’s all there is to changing your outboard’s lower unit oil! By following these simple steps, you can ensure that your engine will continue running smoothly for years.
How do I repair my Outboard Lower Unit?
Assuming you have an outboard motor, you first need to identify the model of your outboard lower unit. Next, collect a repair manual for your outboard motor alpha one lower unit. Once you have the repair manual, familiarize yourself with the instructions and procedures for repairing your lower unit. If you need to replace any parts, be sure to order genuine replacement parts from an authorized dealer like marinerswarehouse. To avoid personal watercraft (PWC) theft, permanently remove the engine stop switch lanyard before working on your boat lower unit. Then Remove the propeller and hub assembly according to the instructions in your repair manual.
Disconnect the shift cable at the engine end by removing the retaining clip and sliding the cable end out of its housing. Unscrew and remove the cap nut from the gearcase fill/drain plug located near the bottom of the gearcase housing. Allow all fluid to drain out of the gear case. Inspect all internal gears for wear or damage and replace them as necessary. Be sure to clean all gears thoroughly before reassembling. Reassemble the gearcase according to repair manual instructions, careful not to overfill with lubricant upon final assembly.
Maintenance of the Outboard Lower Unit
If you’re looking for an outboard lower unit built for outstanding performance, the outboard lower unit is a great choice. With a durable construction and a reliable design, this Evinrude lower unit is perfect for those who want a long-lasting investment. When it comes to maintenance of your lower unit, that is easy to work on. The unit’s simple design makes it easy to access the parts that need to be repaired or replaced. And because the parts are readily available online, you won’t have to worry about finding them when you need them.
To maintain your v perfectly, you must follow some procedures, such as checking the lower unit’s oil level and adding oil if necessary. Drain the bravo one lower unit oil and replace it with fresh oil. Inspect the lower unit for any leaks or damage and the drive shaft, universal joint, and propeller shaft for any wear or damage. Inspect the water pump impeller for any damage. Replace the lower unit gearcase seal if necessary.
How to Keep Your Outboard Lower Units in Good Condition After Repairs?
The first step in keeping your outboard sei lower units in good condition is to clean them regularly after repairs. Cleaning the units can help remove built-up dust, dirt, and other debris that can cause deterioration of the johnson lower unit. Additionally, storing your units in a cool and dry place is essential. Doing this will help protect the unit from damage and maintain its good condition. Also, you can use a storage container if you need to store your mercury outboard lower units for an extended period. A storage container will help protect your sei marine lower units from becoming dirty or damaged over time.
Conclusion
The topic of repairing outboard lower units has been covered in this blog. As we’ve seen, the procedure is simple, but it does call for some fundamental skills and equipment. This article has given you the knowledge you need to repair the lower unit on an outboard.