


A damaged outboard lower unit is a common problem for any boat owners, and one issue that you may have encountered. Fixing an outboard lower unit isn’t as difficult as it looks, provided you have the correct equipment and knowledge. If your outboard motor’s lower unit breaks, this guide will show you how to fix it quickly and perfectly so you can go out on the water. We’ll also give you some pointers on how to keep your lower unit in good shape and put off the need for repairs.
What are the typical issues with an outboard lower unit?
When your outboard lower unit begins to make a foreboding grinding sound, we are all familiar with that situation. But before you take it to the store or start looking for a replacement, there are a few great ways you may attempt to repair it yourself. Water entering into the gear oil is a regular problem with outboard sei lower units. This can occur if the oil is overfilled and require replacement. Simply drain the oil and check the level to resolve the issue.
If it is low, add until the whole line is reached. If there is water in the oil, it must be drained and replaced with new gear oil. Corrosion is another issue that might cause issues with your outboard yamaha lower unit. Typically, this is caused by salt water entering the gears. After each usage in salt water, you should routinely rinse your lower unit with freshwater to clean and prevent this. A corrosion-resistant coating can also be applied to protect against future corrosion. If your outboard mercury outboard sei marine lower units continue to give you difficulty after attempting these solutions, it may be time to visit a specialist or begin searching for a replacement. Here are the entire instructions for installing the mercruiser alpha one lower unit.
Take the boat out of the water
Before you can pull the boat out of the water, you’ll need to disconnect the power steering hose from the outboard. The rudder shaft’s cotter pin and washer must then be removed. Then you’ll have to switch things around and see what works. Some people will need to utilize a crane or other large gear to pull the ship out of the water.
Remove oil from the lower unit
Your outboard’s lower section has a drain plug that must be taken out in order to empty the gear oil or lube. The oil will begin to drain after the plug is removed. The oil has to drain until it is completely clean and free of any impurities.
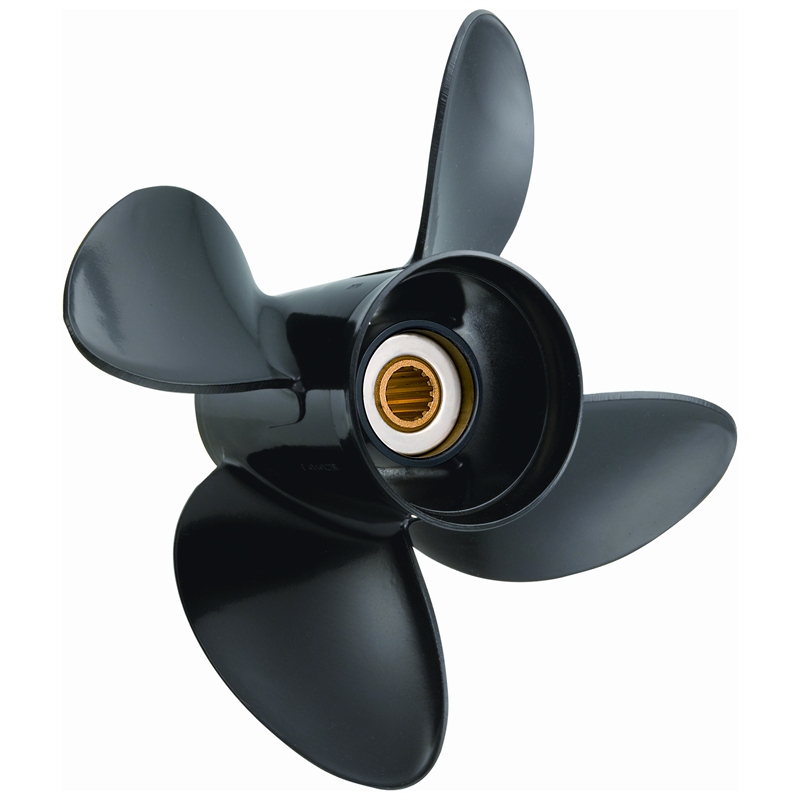
Take out the propeller
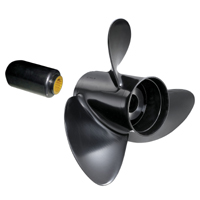
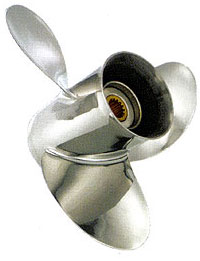
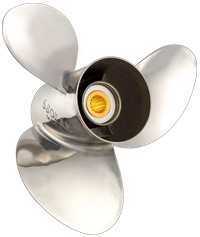
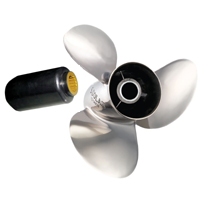
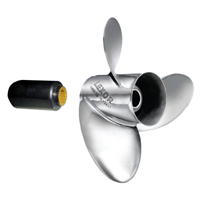
First, remove the outboard propeller by unscrewing it from the lower unit assembly. The nut holding the propeller to the shaft has to be loosened with a wrench. Take apart the outboard mercruiser lower unit and remove the propeller and washer carefully. Check for cracks in the propeller. A new propeller should be installed if the current one has been damaged. The propeller should be reattached to the outboard lower assembly by using a screwdriver. Adjust the wrench’s setting on the nut that holds the propeller to the shaft.
Take out the outboard lower unit
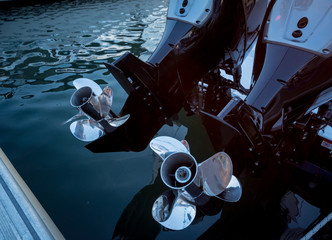
The lower unit of your outboard motor may need to be taken out of the boat and sent to a technician if it is not functioning correctly. Here is a detailed explanation of how to take off your outboard motor’s lower unit mercury section. Tilt the boat so that the outboard motor’s propeller is out of the water if it is still installed on the vessel. The lower element may then be more easily detached. Take the gasoline line from the lower unit’s engine.
First take out the cotter pin from the propeller shaft, and then loosen the nut. Remove the alpha one lower unit from the engine block by loosening the clamp screws using a tool. Remove the lower unit from the engine block with care. Maybe you have to fidget it a little to get it loose. Once the boat lower unit section is unstuck, you may have it serviced or replaced by a professional.
Clean and examine the outboard lower unit
Immediately after noticing that the mercury lower unit of your outboard isn’t functioning as it should, you should clean and check it. Doing so will allow you to spot the issue before it escalates. The exterior of the evinrude lower unit should be brushed or hosed down to remove any buildup or dirt before the inside can be cleaned. Then, clean out the lower unit of any muck or dirt that may have accumulated there.
When cleaning, use a gentle cloth or brush to avoid scratching the mechanism. After the outboard motor lower unit has been cleaned, it should be checked for signs of wear and damage. You should get a replacement piece to replace anything that seems damaged. Make that all of the gaskets and seals are in good working order. If not, then you should get new ones. Maintaining your outboard motor’s lower unit with regular cleaning and inspection will ensure its continued reliability and service life.
Tools requirement for installing the outboard lower unit
If your outboard’s lower unit is having issues, it’s important to get it fixed as soon as possible. Otherwise, you risk damaging your boat or engine. Luckily, installing a new lower unit outboard is relatively easy and can be done in a few hours. Tools and Materials Needed: Outboard stand or similar support, socket wrench set, open-end wrench set, Phillips screwdriver set, flathead screwdriver, wire brush, grease gun, gasket sealant, johnson lower unit (new or rebuilt)
Precess of installing the outboard lower unit
Support the outboard on an outboard stand or similar support so that the propeller is pointing up. Remove the cotter pin and washer from the propeller shaft. Then, using a socket wrench, remove the propeller nut and washer. Lift off the propeller. Disconnect the shift cable at the shift lever by removing the retaining clip and sliding the cable end out of its slot. Also disconnect the throttle cable(s) at the throttle lever in the same way.
Label all of the cables so you know where they go back on. Using an open-end wrench, loosen but do not remove the eight bolts that hold the gearcase cover to the powerhead. Trt up on the cover with a flathead screwdriver to break the sealing compound seal, then remove the cover bolts and lift it off. Then attaching the new water pump impeller housing and then bolting the outboard lower unit into place.
Fill the lower unit with gear oil
When you are ready to fill the lower unit with oil, first find the oil fill port. This is usually located on the side of the bravo one lower unit near the top. Once you have found the oil fill port, remove the cap and insert the oil funnel. Then, slowly pour oil into the lower unit until it reaches the full line on the dipstick. Be sure not to overfill!
Install the propeller
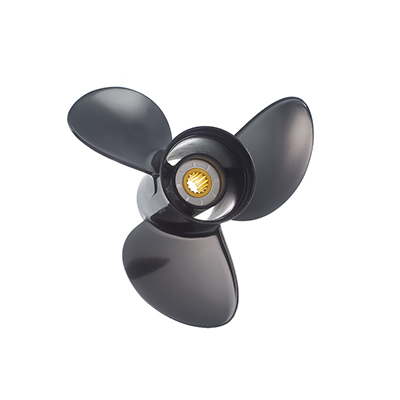
If your outboard’s lower unit has suffered some damage, you’ll need to install a new propeller. Here’s how to do it. Start by removing the old propeller. To do this, first disconnect the propeller shaft from the engine. Then, use a wrench to loosen the propeller nut and washer. The propeller should then come off easily. Next, clean the propeller shaft with some sandpaper or a wire brush. This will ensure that the new propeller will be able to grip the shaft properly. Now, it’s time to install the new propeller. First, slide the new propeller onto the shaft. Then, tighten the nut and washer securely with a wrench. Be sure not to overtighten; just make sure that the prop is snugly in place. Reconnect the propeller shaft to the engine, and you’re all set.
Test the lower unit
Before you start disassembling your outboard’s lower unit, it’s important to test it to see if it’s actually the source of the problem. To do this, you’ll need to connect a hose to the water intake and run the engine in a bucket of water. If the engine runs smoothly, then the lower unit is not the problem. However, if the engine struggles or stalls, then you’ll need to proceed with disassembly and inspection.
Conclusion
If your outboard lower unit is in need of repair, there are a few things you can do to fix it. With the right tools and a little bit of proper knowledge, you can easily get your lower unit back in working order. Follow these above steps and you’ll have your outboard lower unit fixed in no time.