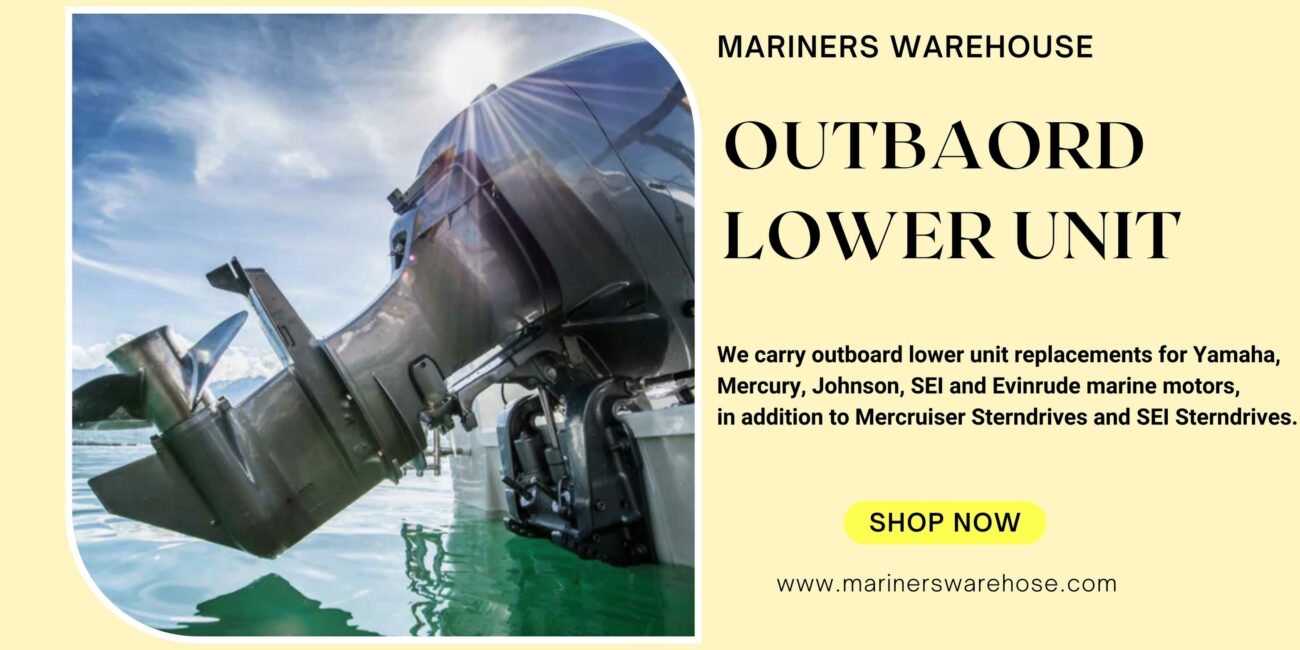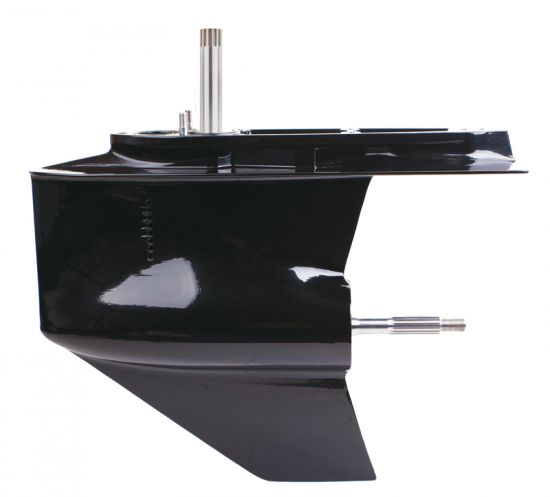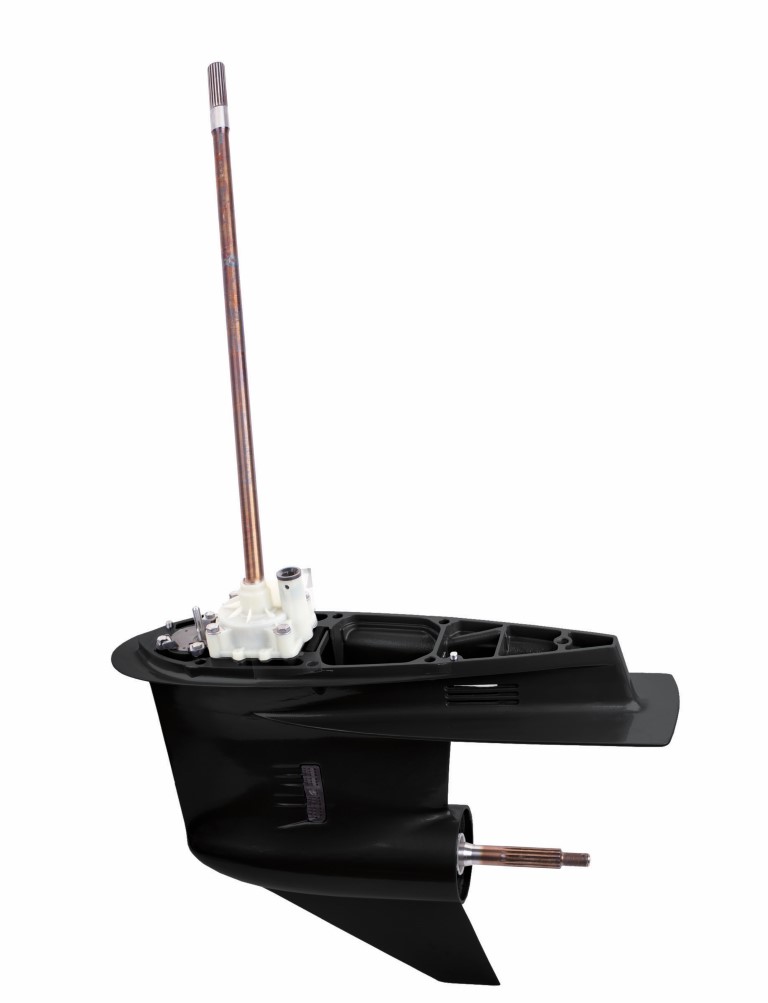
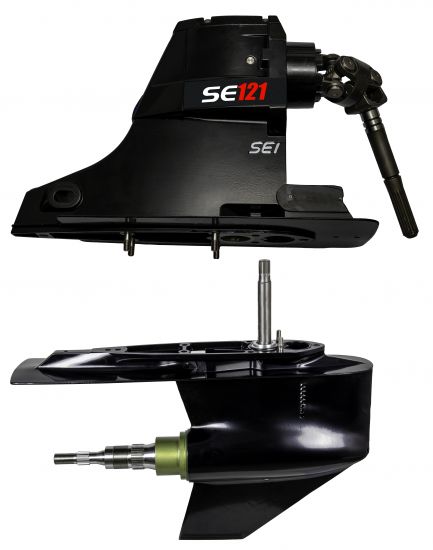
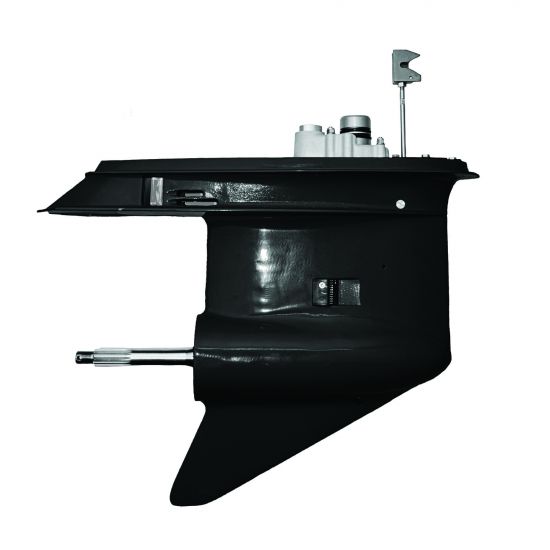
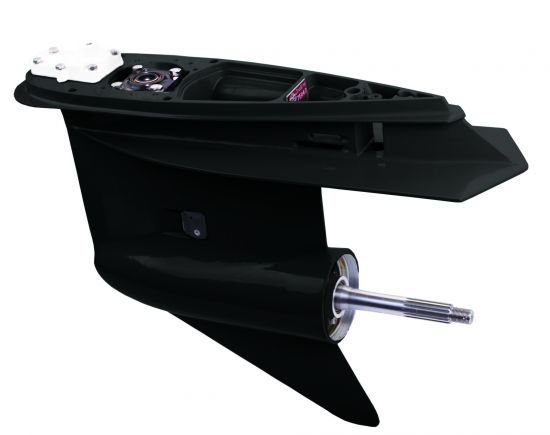
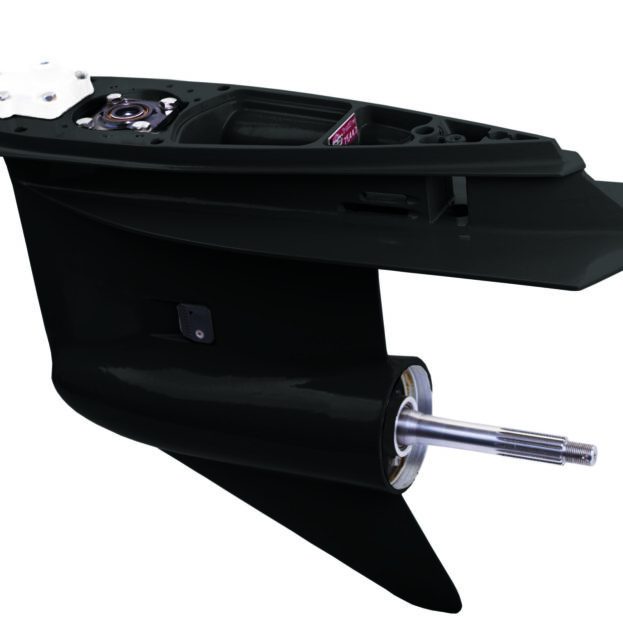
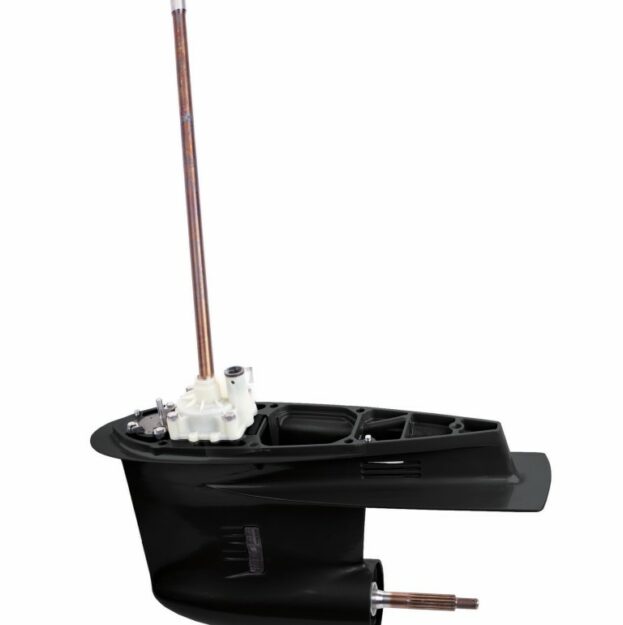


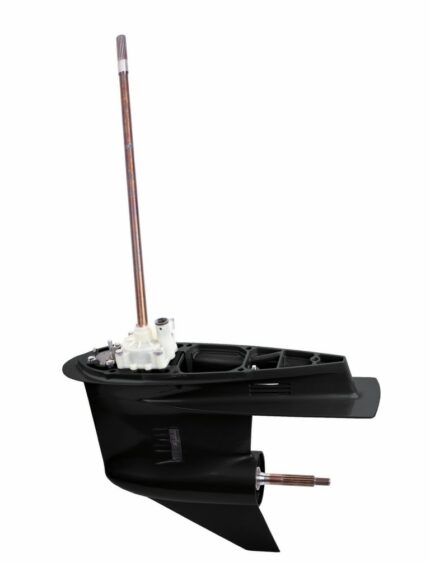
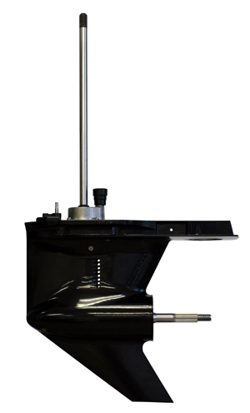


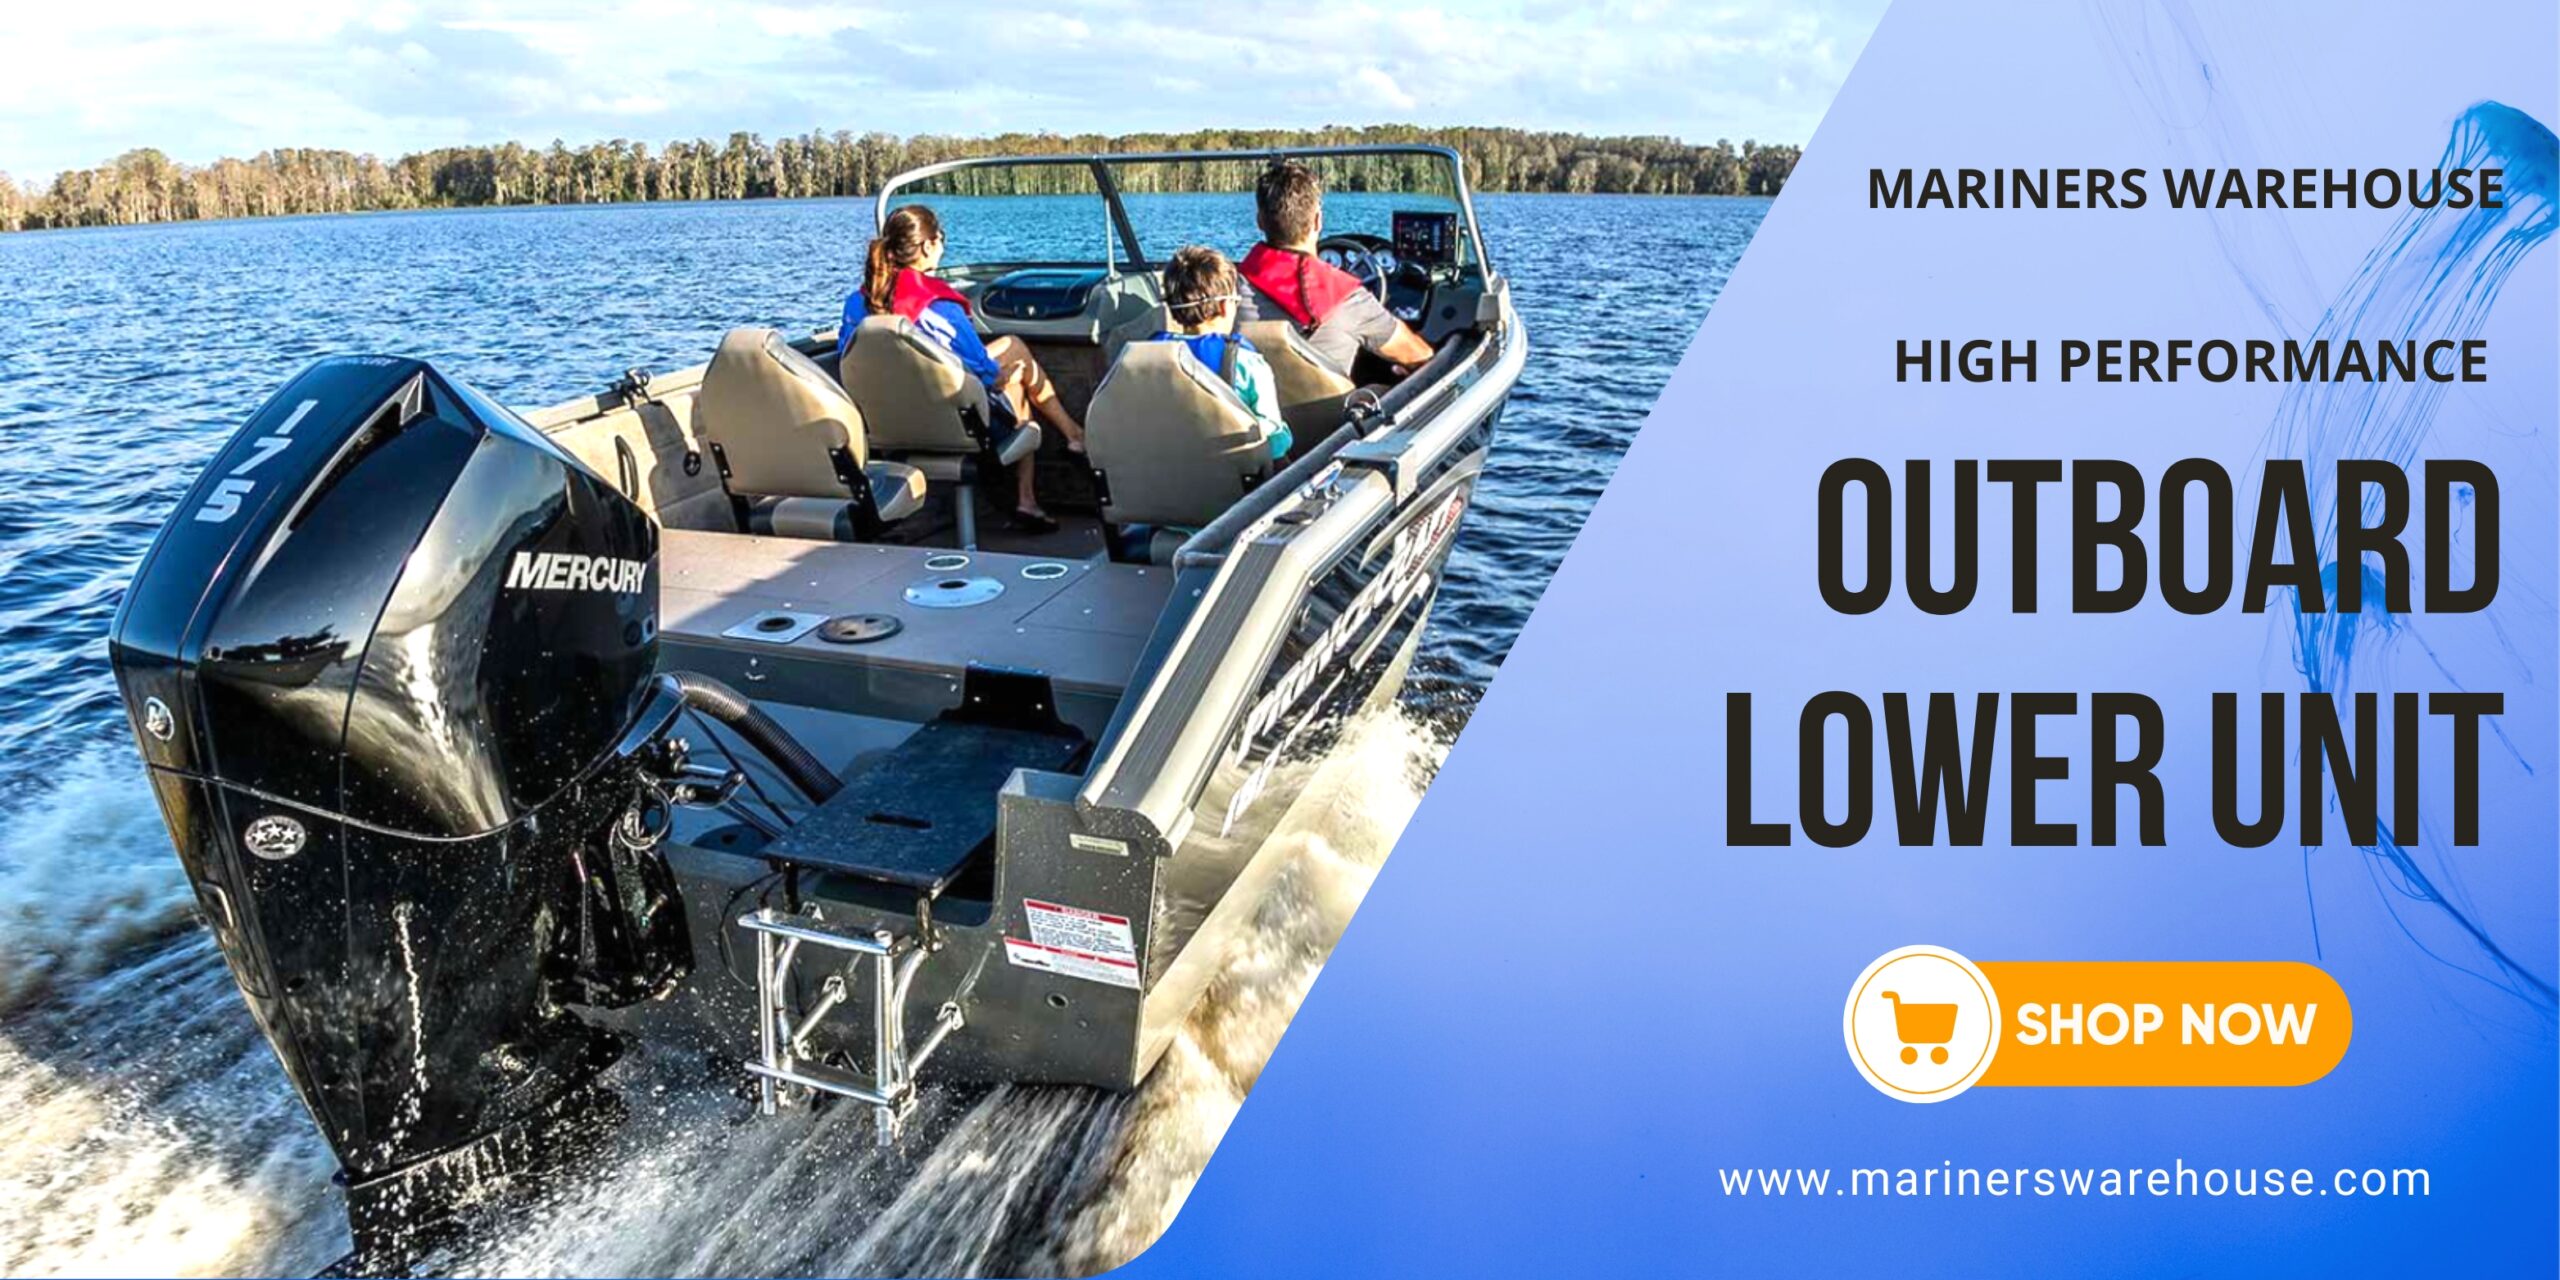
It’s a beautiful day for boating out on the lake until you realize there is a problem with your outboard lower unit. You don’t have to put a halt to your day just yet, as there are common problems that can occur with lower units, and having a little knowledge on the matter can help to get you back on the lake in no time. Read on for the top common problems and how to address them in a creative way.
Problem 1: Water in the Gear Lube of the Lower Unit
Do you own a lower unit outboard motor? If so, then you should know that water in the gear lube is a common problem and one which must be addressed right away if you’re to get the very best out of your motor. As an outboard motor owner, here’s what you need to know about water in the gear lube:
What Causes Water to Enter the Gear Lube?
Water can enter the gear lube via a number of sources. These include a faulty water seal, a leaking drain plug, a stuck water drain valve, or an overfilled gear case that allows water to enter via outside force.
Signs that Indicate Water in the Gear Lube
It’s important to know how to identify water contamination in the gear lube to protect your outboard motor. The most common signs to look for include discoloration of the gear lube. Possible signs that there is water in the gear lube include a foamy or cloudy fluid, metallic particles in the tank, a foul odor, and milky liquid on the dipstick.
How to fix the problem?
If you think there may be water in the gear lube, the first step is to check the dipstick for any milky liquid or particles. If so, then you need to flush the gear case and refill it with fresh gear lube. This should be done as soon as possible to prevent any further damage. If you don;t know how to change gear lube in the lower unit consider reading one of our best articles on how to change lower units gear lube?
Problem 2: Worn Out Water Pump Impeller of Lower Unit
If the water pump impeller in the outboard lower unit is worn out or damaged, it can significantly impair the performance of your boat and cause a potentially dangerous situation. We’ll look at the causes and signs of a worn-out water pump impeller and how to fix this common problem.
Causes of a Worn-Out Water Pump Impeller
A damaged water pump impeller can happen for a number of reasons, ranging from general wear and tear to clogs caused by sediment and marine life. The impeller may also become damaged if the lower unit is operated in too shallow of water or due to the wear and tear of operation in cold temperatures or seawater.
Signs of a Worn-Out Water Pump Impeller
There are a few telltale signs that indicate your water pump impeller is damaged and needs to be replaced. The most common indicator is a strange noise coming from the lower unit of your outboard when the engine is engaged. The sound may be described as whining, whirring, or grinding noise. Another sign is reduced power or performance of the outboard motor. This can be related to the current issues with the impeller but could also be due to other problems. It’s important to have the outboard motor serviced regularly and inspected for signs of normal wear and tear.
How to Fix a Worn-Out Water Pump Impeller
In order to fix the problem of a worn-out impeller in the outboard lower units. You’ll need to replace it. The process will vary by each model of the outboard lower units, but generally, you’ll need to remove the unit from the boat and remove the screws in the rear plate. Then, you can take out the impeller, clean and inspect it, and replace it with a new impeller. Be sure to match the impeller size and shape to the manufacturer’s specifications in order to ensure the best performance.
Problem 3: Leaking Seals of the outboard lower unit
Do you have a leaking seal on your outboard lower unit? If so, you’re not alone. Unfortunately, this is a common issue on many boats, and it can be a difficult problem to address. To make matters worse, it’s difficult to identify the cause. Let’s take a look at why seals fail and the steps you can take to fix the problem.
What Causes Seals to Leak?
There are a few factors that can cause seals on your sei lower unit to leak. One of the most common causes is age. As the seal ages, it begins to break down and can no longer properly hold oil in the lower unit. Additionally, water and heat can cause seals to crack and leak. That’s why it’s so important to keep your boat in good condition and check for signs of damage regularly.
The Signs That Indicate a Leaking Seal
If you suspect a leaking seal on your lower unit outboard, it’s important to recognize the signs. One of the most obvious signs is an oil slick in the water around your boat. You may also notice wet spots near the lower unit, as well as unusual grinding noises. Finally, if you notice an increase in your boat’s fuel consumption, it could be due to a leaking seal.
How to Fix the Problem By Replacing the Seal
If you do have a leaking seal on your outboard lower unit, the only solution is to replace it. Be sure to use a quality seal for the job, and keep in mind that the job can be a little tricky. It’s best to consult a professional if you aren’t confident in your ability to replace the seal. But if you do it right, you can save yourself a lot of trouble!
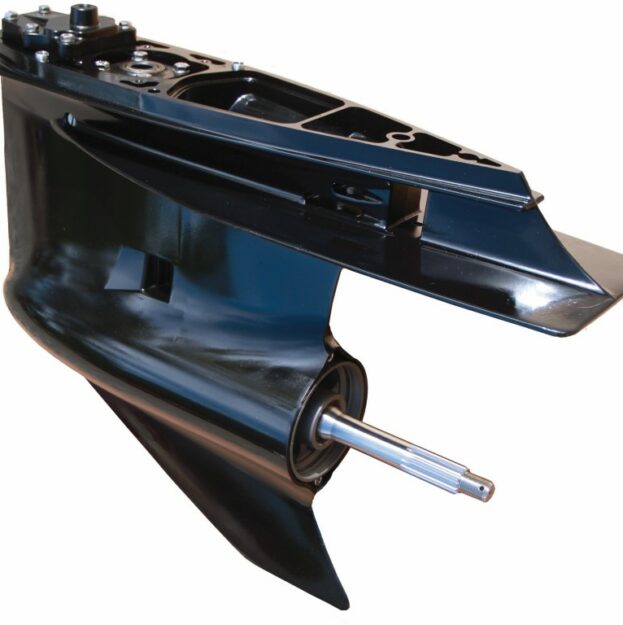
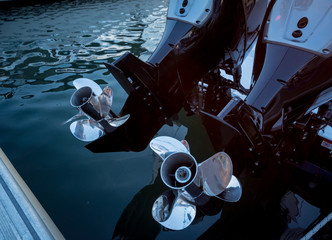
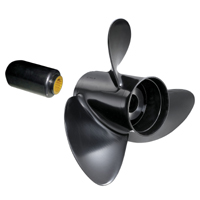
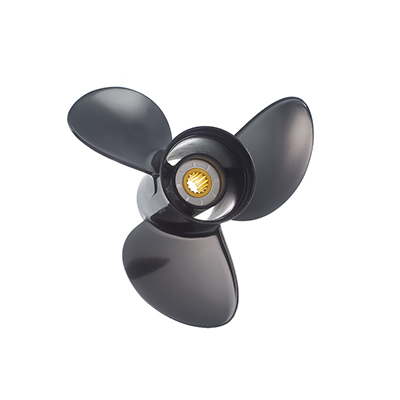
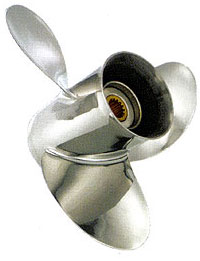
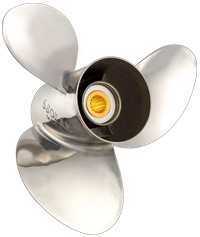
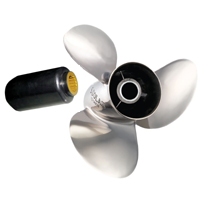
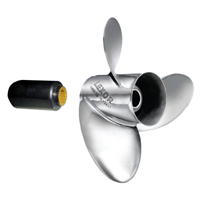
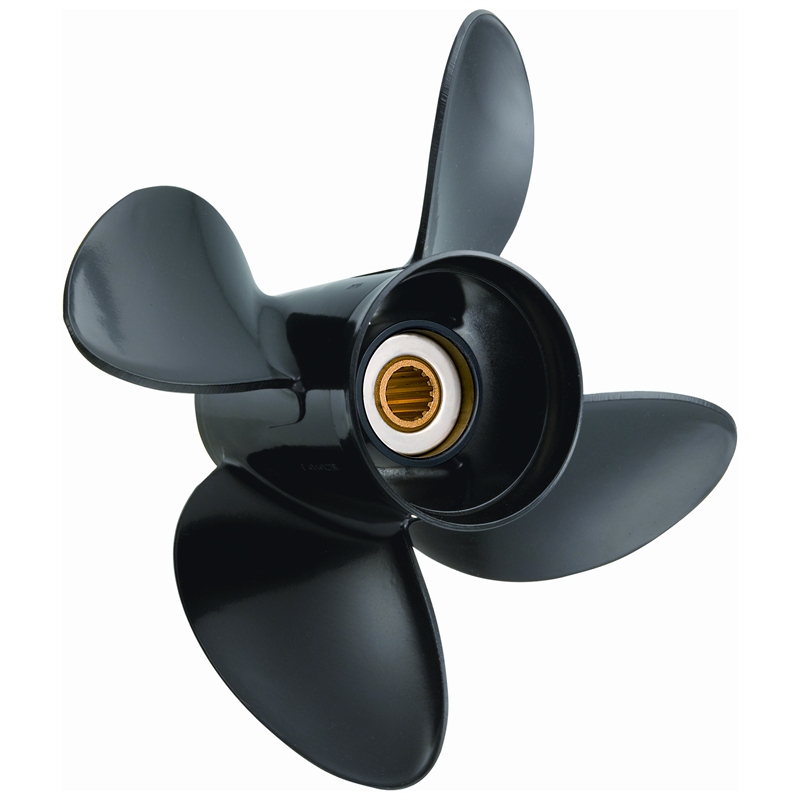
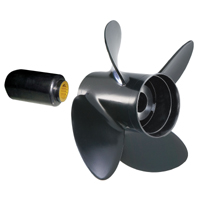
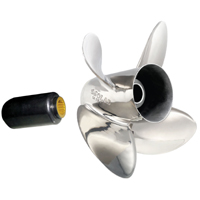
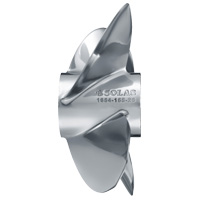
Problem 4: Bent or Damaged Propeller of the lower unit
Wake up with a Bent or Damaged Propeller on Your Lower Unit: Here’s What to Do
Few things can put a damper on a day on the water faster than discovering that the Propeller on your lower unit outboard is bent or damaged. Nobody wants this inconvenient and costly setback, so we’ve put together a guide on what causes a propeller to become bent or damaged, what signs to look out for, and how to tackle the problem.
What Causes a Propeller to Become Bent or Damaged?
- Propeller strikes: If you’ve hit something while boating, chances are it’s the propeller that’s done the most damage. Propeller strikes are usually the result of running over debris, rocks, and rocky things discovered below lakes or oceans.
- Common wear and tear: Especially after extended periods of use, Naturally, the metal on the Propeller will start to wear out, bending or breaking it.
- Vibrations from your lower units outboard might be to blame for the malfunction, as they could loosen fasteners and throw off your drive shaft’s alignment.
What Signs Indicate a Bent or Damaged Propeller?
- Increased vibration: You may have a bent or damaged propeller if you’ve ever felt this when the boat was moving.
- Difficulty accelerating: You may need to replace your boat’s Propeller if it is weakening your boat’s speed or ability to take off.
- Poor fuel efficiency: If you notice that you are consuming more fuel than normal, it may be time to inspect the Propeller for damage.
How to Fix the Problem by Replacing or Straightening the Propeller
The good news is that even if your Propeller is significantly bent or broken, it can be repaired. How? Read on!
- Straightening: You can restore thrust, velocity, and fuel economy by bending a bent propeller back into form. This, however, can only be achieved provided the Propeller is not severely damaged.
- Replacing: Propeller replacement is the most reliable and efficient long-term solution, and it may be the best option for your situation. To get the most out of your replacement propeller, get one with the same diameter and blade pitch as the old one.
Always remember to inspect the lower unit outboard for any damage as soon as you discover anything out of the ordinary. Do not endanger yourself or others by continuing to operate a boat with a broken propeller.
Problem 5: Corroded or Worn Out Electrical Connections of the Lower Unit
What Causes These Corrosions and Wear?
In most cases, environmental elements like seawater and humidity are to blame for electrical connections that have rusted or worn out. It is possible that the metal contacts on electrical connections will become weaker or worn out due to exposure to these factors, leading to failures occurring more frequently.
Signs To Look Out For
There are a few things to keep an eye out for if you see corrosion or worn electrical connections in your outboard lower unit. First, look for corrosion by looking for discoloration on the contacts. Overheating or a short might also manifest as peeling or burning of the conductors.
How To Fix The Problem?
Your outboard sei lower units corroded or damaged electrical connections can be fixed in a few different ways. First, using a clean cloth or gently abrasive substance, wipe away any salt residue and rust from the contacts. The connection can be taken apart, and the individual wires cleaned using an eraser if that proves required. After the connection has cleaned, a conductive shield can add to prevent future corrosion and wear. Last but not least, if the link is significantly broken, it could be time to switch to a new one.
How Can You Prevent The Common Problems Of Outboard Lower Units?
Have you ever run into problems with your outboard’s lower unit? If so, you’re certainly not alone. There are some simple measures you can take to prevent these issues and extend the life of your motor. Here’s how you can prevent the common problems of outboard lower units.
Check Your Hull Seal: One of the first things you should check when it comes to outboard lower units is the hull seal. As it is one of the most important components when it comes to motor maintenance. The hull seal helps keep the water out, which reduces the risk of water and oil leaks. Checking your seal for signs of bad lower unit or wear and tear is an important part of keeping your motor running well.
Use The Correct Oil: It’s important to regularly check and change out the oil in your motor. It’s also important to use the right kind of oil in your outboard. The wrong oil can cause excessive smoke, vibration, and power loss. Check the manual to see what type of oil is recommended for your engine.
Properly Grease Moving Parts: You should grease all the moving parts in your outboard lower unit regularly. Doing so will reduce friction and wear, which can help to prevent your motor from vibrating and failing prematurely. Make sure to use marine-grade lubricants and grease the parts according to the manufacturer’s specifications.
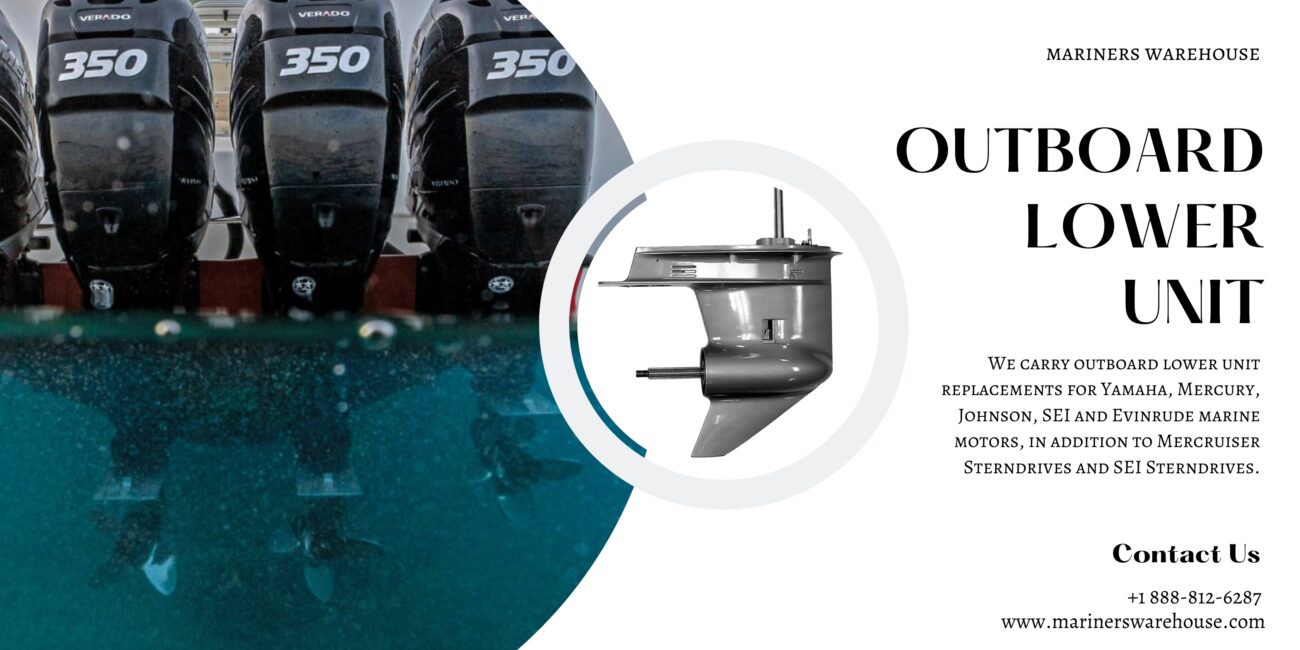
Inspect Anodes Regularly: Inside your outboard motors mercury lower unit is an anode, an important component designed to protect it from corrosion. Over time, the anode will wear down and need to be replaced. Regularly inspecting your anode is essential for the health of your motor and can prevent any damage from occurring.
Taking a few extra steps to maintain your outboard lower units can go a long way when it comes to preventing common problems. From checking the hull seal and using the right oil, to properly greasing moving parts and inspecting anodes, following these tips will help keep your motor running smoothly and efficiently.
Final thoughts
The lower unit in an outboard motor, although a critical and integral part of the machine, can be prone to some common problems. Knowing what the potential issues are and the methods to fix them can save time and money in the future. Whether you opt to tackle the repairs yourself or bring your lower units motor to a local shop, with a bit of care and attention, you can keep your outboard lower unit running smoothly for years to come.