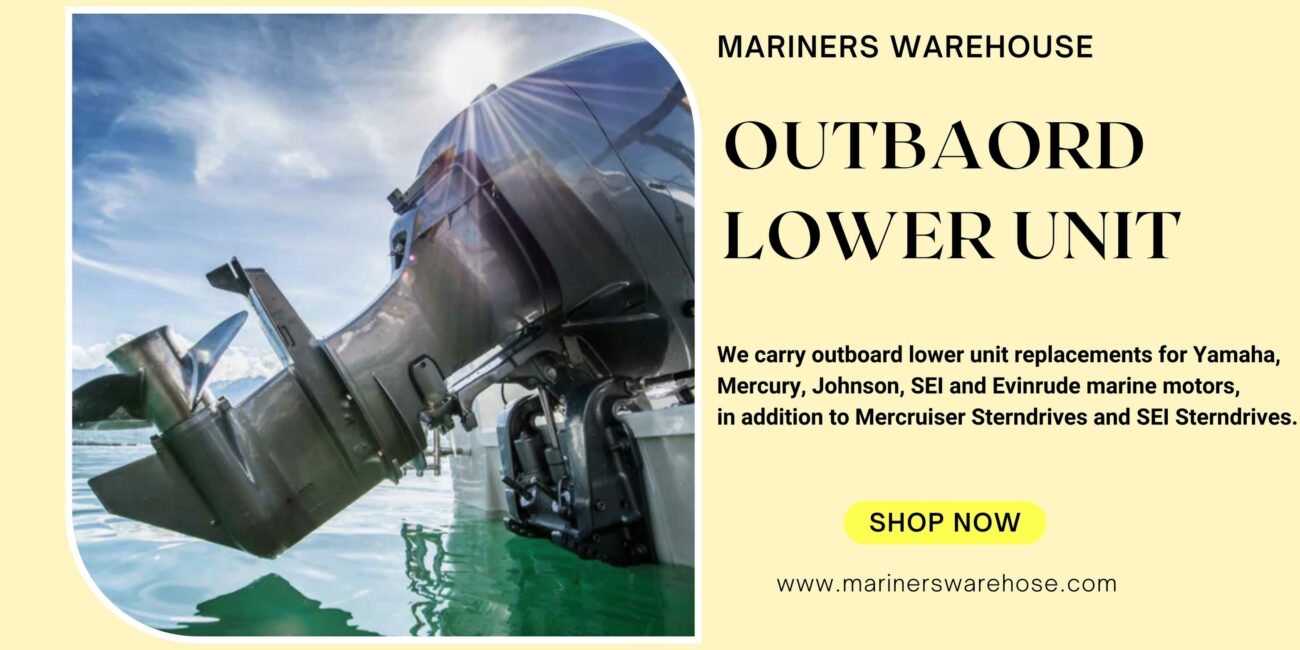


Are you experiencing the hassle of a leaking outboard lower unit? Don’t worry about it; the solution is simpler than you think. This blog post will walk you through fixing a leaking outboard lower unit, allowing you to go back to having fun in the sun as soon as possible. This article includes everything you need to fix your leaky outboard lower unit, whether you’re an expert boat technician or just starting. That being said, let’s get into action!
How to Identify a Leaky Lower Unit?
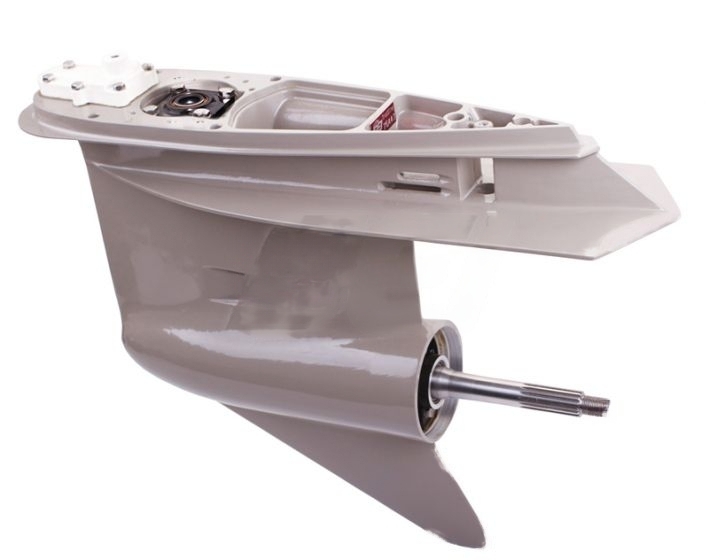
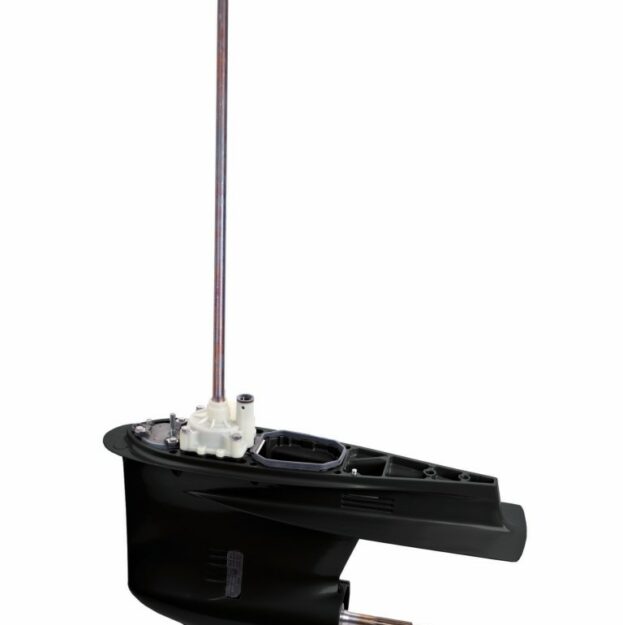
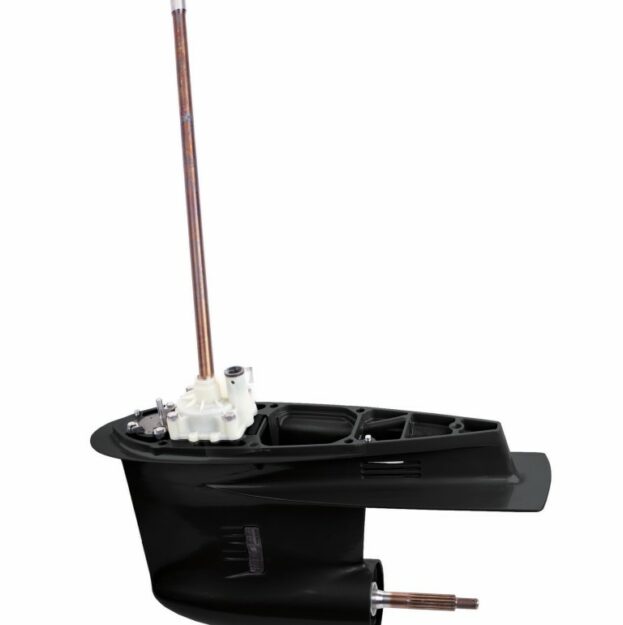
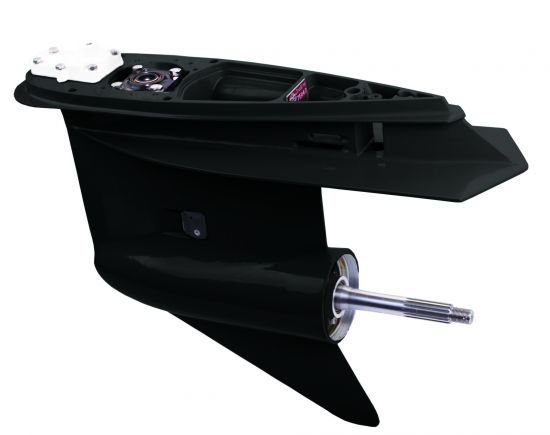
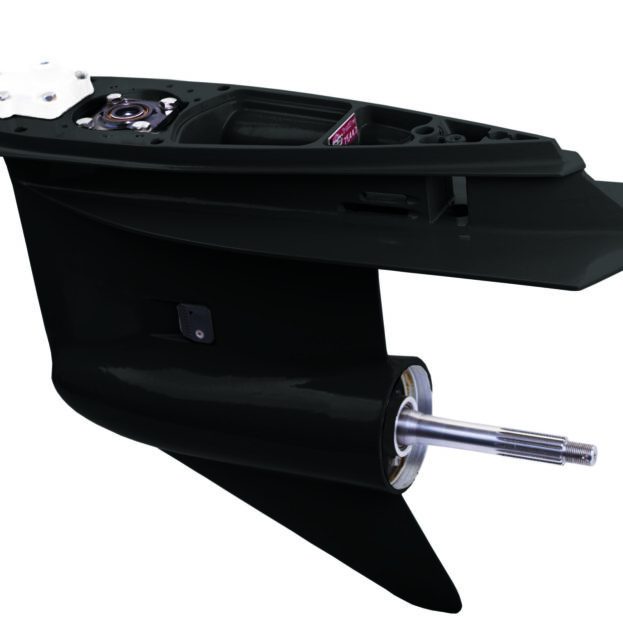
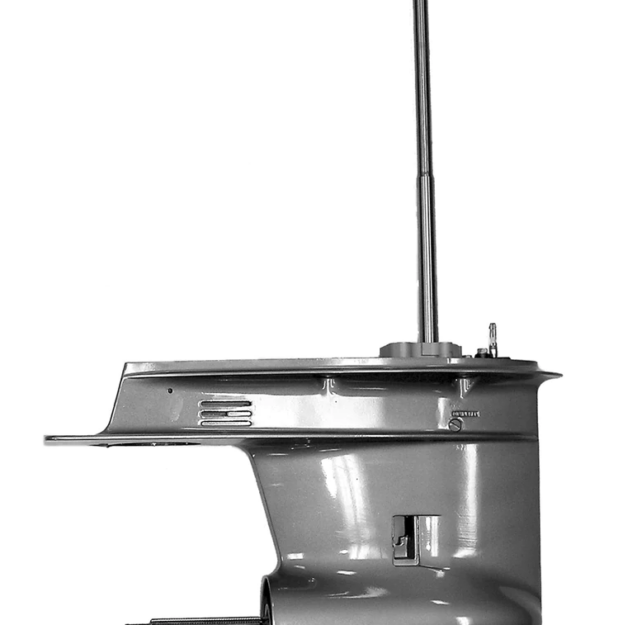
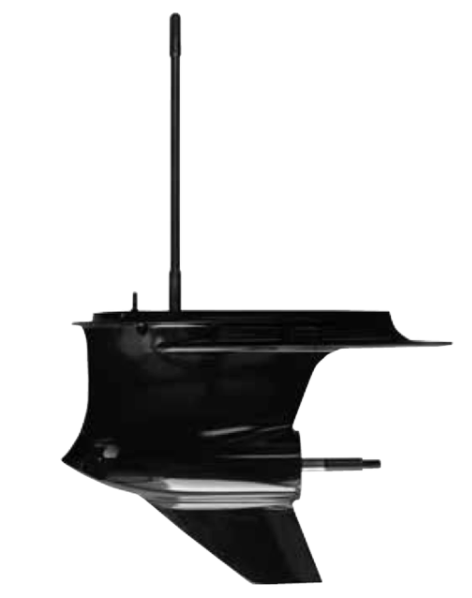
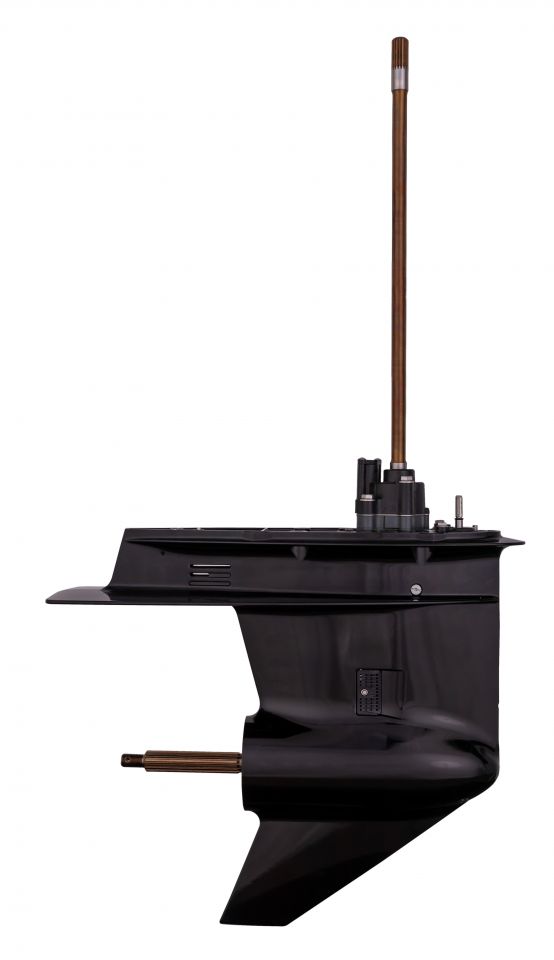
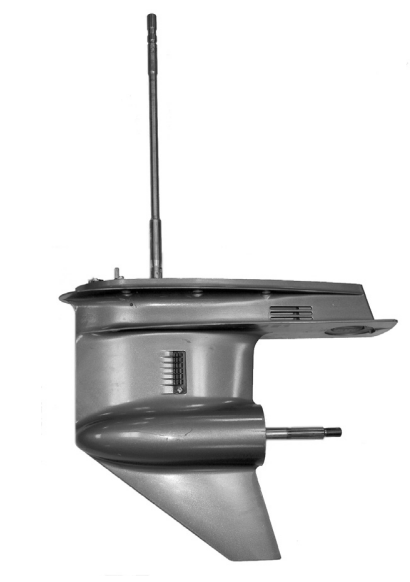
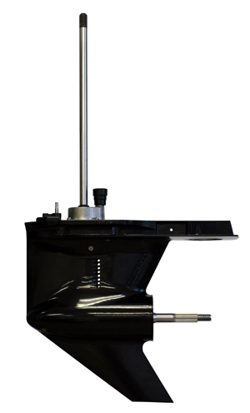
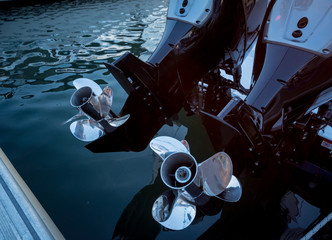
If your outboard’s lower unit is leaking, locating the leak is crucial for maintaining your boat’s performance. Remove the propeller and find the drain plug on the lower unit to access the engine. You may inspect the engine for oil leaks by removing the drain cap. To find a hidden leak, you may have to start the engine and look for oil smears on the water’s surface. Other indicators of a leaky outboard lower unit include a decrease in oil level or a milky sheen to the oil. When the performance suddenly decreases, and a strong smell of gasoline or oil is present, it may be time to check for leaks. To prevent further damage and costly repairs, a leaking outboard lower unit must be rectified without delay.

How to Repair a Leaky Outboard Lower Unit?
If you want to repair a leaky outboard lower unit, follow these steps to ensure you get the most out of your boat.
Drain the Lower Unit of Its Oil
Before working on the outboard lower unit, the oil must be drained. To avoid ecological disaster, the draining procedure must be carried out with extreme caution to prevent oil from leaking into the water or onto the land. Try to find the oil drain plug at the bottom of the device. This may be found at the very bottom of your device and is easily identifiable by its hexagonal shape. The oil may be drained into a container. If you locate the drain plug and remove it using an adjustable wrench. Be sure that the used oil is disposed of properly.
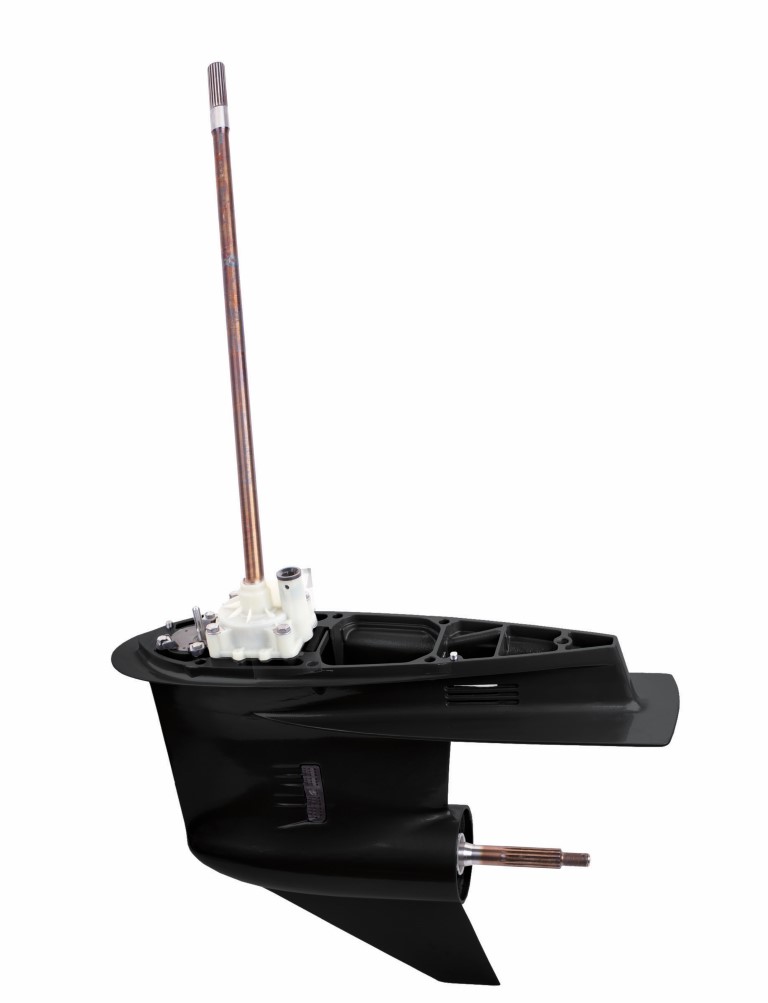
Remove the Damaged Seals
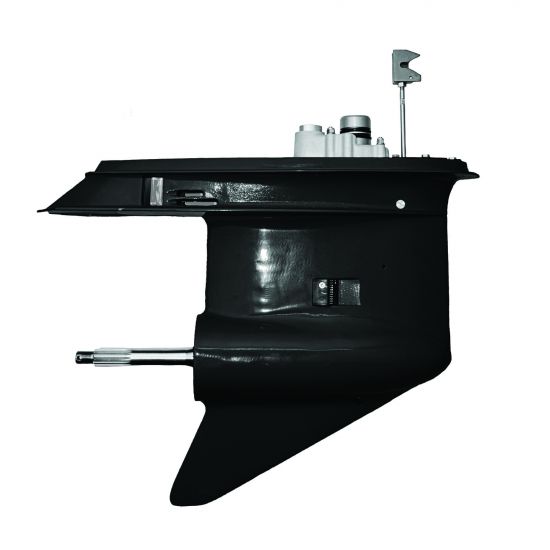
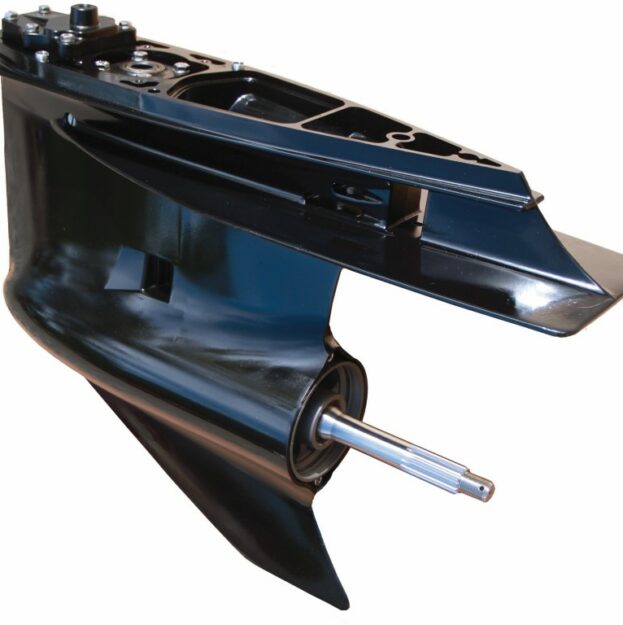
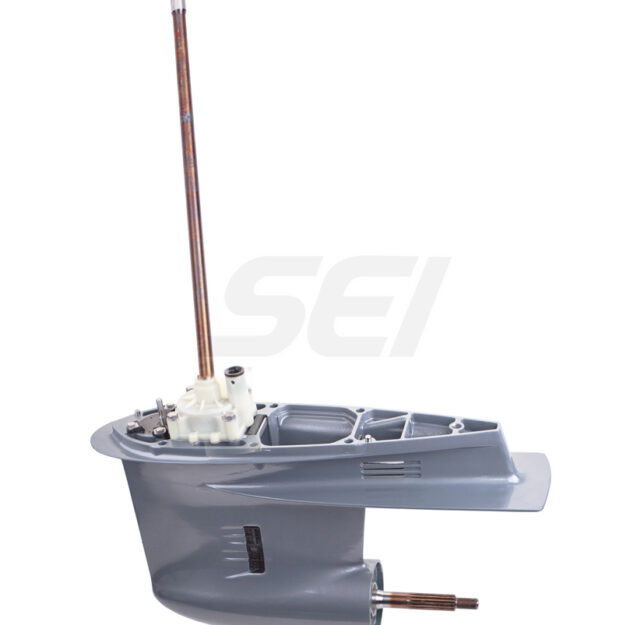
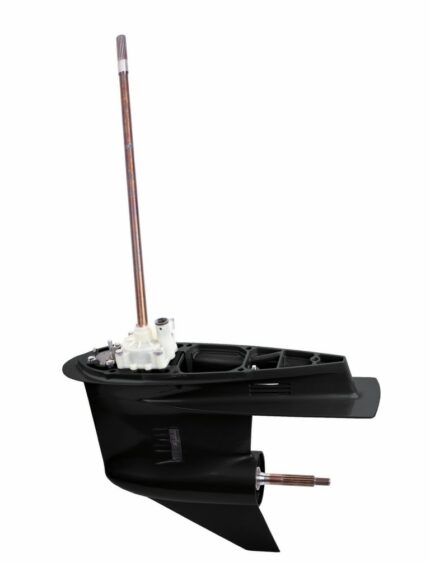
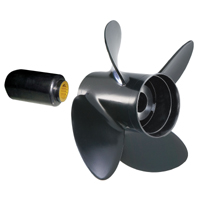
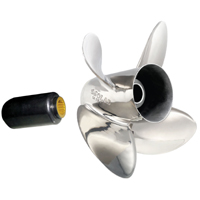
The old seals may be changed out once the oil has been drained. Ruptured or worn-out seals cause most leaks in the yamaha lower unit. The unit has been sealed in several places, including the gearcase, the propeller shaft, and the water pump. Seals in the lower unit can only be accessed by disassembling the unit in a particular order. After gaining entry, you may carefully remove the seals using a tool made for the purpose. Keep your workspace organized and secure at all times.
Replace Damaged Seals
Old, defective seals must be removed before new ones may be fitted. When changing seals, it is necessary to utilize OEM (Original Equipment Manufacturer) seals of the highest quality. You need to get a seal for your outboard motor that is the proper size and material. New seals must be treated with sealant or thread locker before being installed. After replacing the seals, the lower units must be carefully reassembled. And with great attention paid to ensuring proper alignment and fine-tuning of all moving parts.
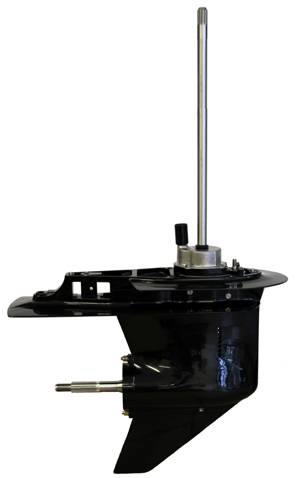
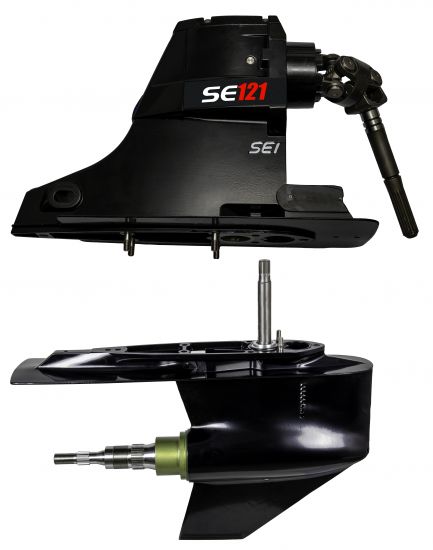
Reinstall the Lower Unit
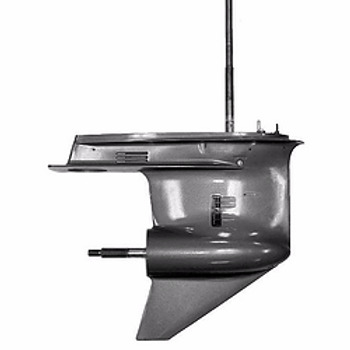
Replacing the original installation with a new one may stop the leak from outboard sei lower units. Before reinstalling, ensure the part has been cleaned and checked for any other signs of damage or wear. Please make sure the gadget is level and aligned before you re-bolt it into place. The unit’s oil must be added once placed in its designated location. As a last leak test, you should start the engine and check for leaking oil. If you’ve double-checked everything, we’re good to go.
Please note that it is recommended that you see a professional if you require training or experience with outboard motors. Since making a mistake might cause severe damage to your outboard motor, this is not a job that novices should attempt.
How to Maintain Your Outboard Lower Unit After Repairing Oil Leaks?
Once you have repaired the oil leaks in your outboard’s lower unit, it is essential to maintain regular maintenance to ensure the motor continues to serve you well for as long as possible. Changing the oil in the mercury lower unit is the first step in maintaining it. Use only the oil recommended by the manufacturer, and change it after 100 hours or once a year, whichever comes first. The water pump’s impeller needs routine servicing. This is why keeping a careful check on it and replacing it if necessary is crucial for avoiding additional harm. You should also swap out the gear oil if it becomes low. Finally, ensure the lower unit is spotless and corrosion-free by cleaning it after each usage. These simple steps ensure your outboard motor’s lower unit is working correctly.
Tip: If you’re curious about maximizing your lower unit performance, consider reading one of our best articles, “How to Maximize Your Outboard’s Lower Unit Performance?“
Final thoughts
Repairing a leaky outboard lower unit is a task that is possible with the right tools and a bit of patience. With an understanding of the workings of an outboard engine, one can carefully put their outboard back together and save the expense of taking it to a mechanic. While it is always a good idea to confirm the repair with a professional, it is possible to fix a leaky outboard lower unit yourself with the right tools and know-how.