


Planning a 12-Inch Fish Finder Installation
Planning a 12-Inch Fish Finder Installation
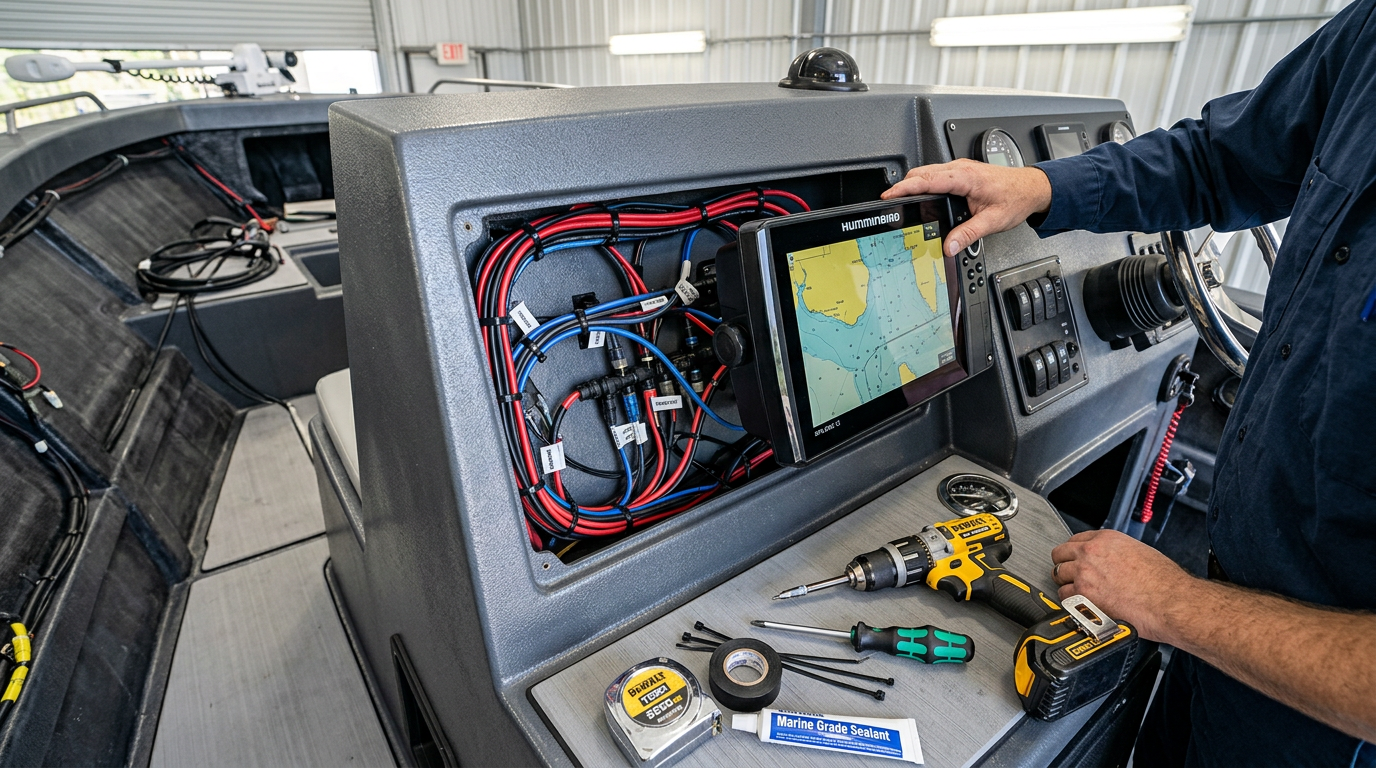
A 12-inch fish finder installation takes more planning than a smaller unit simply because of its size. Before you cut a dash opening or commit to a bracket for your XPLORE 12 installation, work through display space, mounting clearance, viewing position, cable routing, transducer requirements and connections in that order.
Confirm Display Space First
Measure the flat surface area available at your intended mounting location and compare it against the XPLORE 12's actual footprint, including its bezel. A 12-inch display needs meaningfully more space than a 7- or 9-inch unit, and this measurement should rule out unsuitable locations before you plan anything else.
Check Mounting Clearance Behind the Console
Beyond the front-facing surface, confirm there's enough depth behind your dash or console for the unit's housing, connectors and any gimbal bracket hardware. Tight consoles with limited depth can prevent a flush-mount installation even when the front surface area looks sufficient.
Think Through Viewing Position
Consider where you'll actually be standing or sitting relative to the screen during normal use. A helm-mounted 12-inch display viewed from several feet away justifies its size with a wider field of view, while a unit mounted too close can feel oversized rather than useful.
Plan Cable Routing Early
Map out how power, transducer and any network cables will run from the unit to their connection points before drilling or cutting anything. Planning routing paths in advance avoids awkward cable runs, exposed wiring, or having to enlarge a mounting hole after the fact.
Confirm Transducer Requirements
Decide whether you need a complete CMSI+ transducer package or can reuse an existing, verified-compatible transducer through a CHO installation. Confirm connector type and sonar capability align with the features you want before finalizing your parts list.
Verify All Connections Before Final Mounting
Before permanently securing the unit, power it on and test all connections — transducer, power and any network cabling — to confirm everything functions correctly. It's far easier to troubleshoot a connection issue before the unit is fully mounted than after.
Key Takeaway: Confirm display space, mounting clearance and viewing position before cutting anything, then plan cable routing and transducer requirements together to avoid rework.
12-Inch Installation Checklist
- Measure available display space and compare against the unit's footprint
- Confirm mounting clearance and depth behind the console
- Evaluate viewing position and distance from the screen
- Plan cable routing paths for power, transducer and network cables
- Confirm transducer requirements (CMSI+ package or verified CHO)
- Test all connections before final mounting
Frequently Asked Questions
Can I flush-mount a 12-inch XPLORE into any console?
Only if the console has sufficient front surface area and depth clearance — measure both before cutting.
Do I need professional installation for a 12-inch fish finder?
Not necessarily, but confirm your comfort level with cable routing, dash cutting and connector wiring before attempting a DIY installation.
Is a gimbal bracket easier than flush-mounting?
Gimbal brackets typically require less permanent modification, but confirm mounting surface strength and viewing angle before choosing this route over flush-mounting.
Need help planning your XPLORE 12 installation? Contact our team for guidance.